RokSprocket: Layout Modes
Your Guide to RokSprocket Layout Modes for Joomla
Introduction
RokSprocket has multiple layout modes to display your content including: Features, Tabs, Lists, Mosaic, Grids, Quotes, Sliders, Tables, Strips, and Headlines. This guide will give you an overview of what these modes are, and how to configure them using the administrator interface.
-
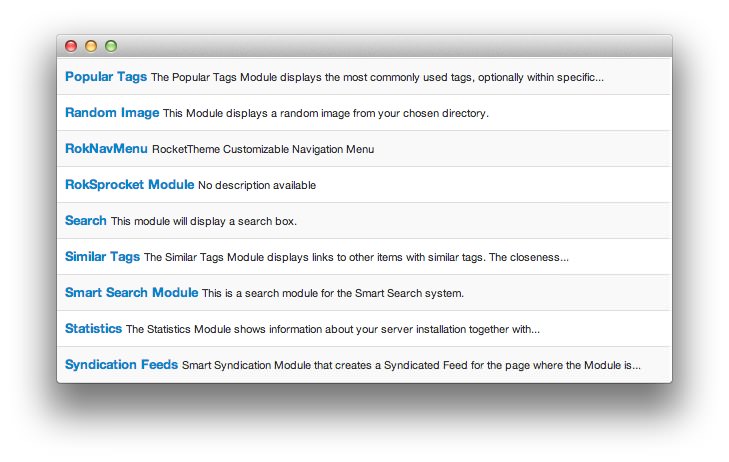 1RokSprocket ModuleThis option within the Module Manager's New Module type list will initiate the creation of a RokSprocket Module.
To start, all of the layout modes are accessible using a single module type. By selecting RokSprocket Module from the module type list, you will initiate the creation of a RokSprocket Module, which can be configured to fit any of the layout modes listed below. Once you have created the new module, you will be taken to the module manager for mod_roksprocket where you can configure its individual settings.
Below, you will see each layout mode listed along with the settings which are available for them. Not all of the modes have the same set of controls as each is intended for an entirely different look and/or purpose.
-
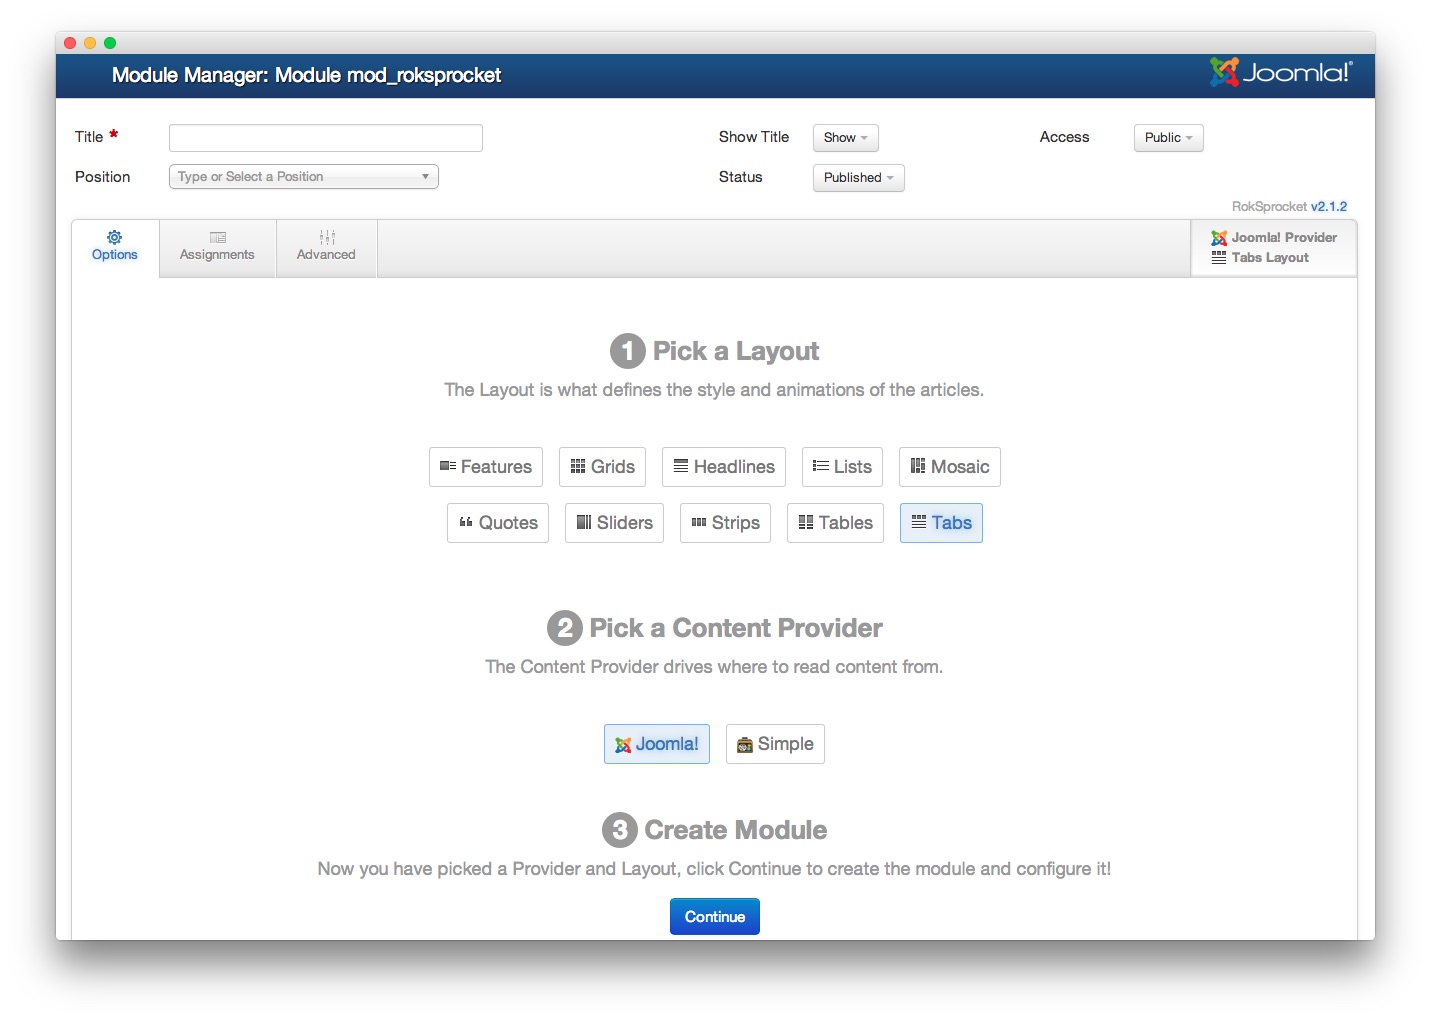 1TitleYou need to assign a title to the module in order to continue past the first setup page.2LayoutThe layout determines how the module will appear on the frontend.3Content ProviderThis option allows you select from any available content providers on your Joomla site.4ContinueSelecting this will create the module and take you to the next step in the setup process. Once this is clicked, the module's content provider and layout can not be changed.
Once you have selected to create a new RokSprocket module, you will be taken to a page where you can pick a Content Provider and a Layout. Once you have done this, and given the module a Title you can click Continue to begin refining the module on the next page.
Here is a list of layouts you can choose from on this page.
Layout Themes
Layout themes allow for RokSprocket to have some variance of styling for each layout mode. For example, the Features layout mode has three built-in themes (Slideshow, Slideshow2, and Showcase) each giving it a totally different look while maintaining the same general features and functionality.
Layout themes included with RokSprocket act as a styling guide, so even if your template is not built with RokSprocket in mind, it can still work and look great.
Custom Layout Theme Overrides
RokSprocket Layout Modes each come with one or more integrated layout Themes. It is possible for a template to tweak existing or add additional themes in order to provide custom styling that gives a layout mode a look that is unique to the template.
NOTE: In order to take advantage of any custom layout theme overrides in a template, that template must be set as the default template in Template Manager. If you are using overrides of a single template, the Master should be set as default. You can use other templates in your site, as well as overrides of the master, but this is the only way Joomla will know to pull those overrides.
How RokSprocket Uses Custom Themes
RocketTheme uses this method on occasion. If you are using a RocketTheme template with custom styling for RokSprocket themes or even custom themes, you can find these override themes by navigating to /site/templates/(template folder)/roksprocket/.
In this directory, you will find folders with the names of overridden Layout Modes. Inside those directories, folders with the names of the theme or themes with custom styling. You may even find a folder with a name that doesn't coincide with one of RocketTheme's built-in themes. These folders add new themes. For example, in the Myriad template, we added Apollo and xScroll themes using this method.
How to Create New Overrides
RokSprocket comes with its own preset layout that allows it to look great out of the box. You can create overrides specific to your template that enable you to customize the way RokSprocket appears on your site, without actually touching any of RokSprocket's files.
This ensures that your modules will look great with your template while maintaining RokSprocket's ability to be updated and reinstalled without issue. Your customizations are stored in the template files apart from the extension.
These overrides will work with any RokSprocket file, and are not limited to CSS. In our example below, we will make a change to the index.php file for the Strips layout in RokSprocket using an override. Here are the steps:
- Copy the directory structure leading to the file you wish to change in the /templates directory rather than /components. For example:
/templates/(template directory)/roksprocket/layouts/strips/themes/default/would be created to override files in the/components/com_roksprocket/layouts/strips/themes/default/directory. - Copy the file you wish to override and paste it in the new directory. For example:
index.php - Make adjustments to the new file.
- Save your changes.
- Test.
When the module is loaded, the new index.php file will be loaded in place of the one that appears in the main RokSprocket directory. No other files will be affected.
If you want to undo this change at a later time, simply delete the new file and the original file included with the RokSprocket install will be loaded.
Custom Layouts - (Very Advanced)
For advanced users and developers, you can take full advantage of the power of RokSprocket by adding new custom layouts to your templates. A new custom layout is similar to a custom theme, only you need to create a complete layout with themes in the folder /site/templates/(template folder)/roksprocket/layouts/[your new layout].
The simplest way to learn how to build a custom layout is to copy an existing layout and the layout themes from the /site/componets/com_roksprocket/layouts/[the layout your are copying] and renaming the layout. For example, if you wanted to create a new layout called icongrids from the grids layout you would copy the whole layout from /site/components/com_roksprocket/layouts/grids to /site/templates/(template folder)/roksprocket/layouts/icongrids. you would then need to rename all files accordingly and do a search and replace to rename all of the code items in each file from "grids" to "icongrids" and "grid" to "icongrid" (note the plural and singular instances).
In your custom layout, to add or remove new fields you need to modify both the meta.xml and the RokSprocket_layout_[layouttype].php files. The RokSprocket_layout_[layouttype].php file must have the setParam(), setupText(), setupLink() for the items added to the meta.xml file (or remove items matching those which are removed). Just follow the pattern for the setParam() items in the existing code to get the syntax right.
Content Providers
Content providers determine where the content is pulled from to create the body of your RokSprocket module. Images, links, descriptions, and titles can be pulled directly from these content providers.
RokSprocket has the ability to pull content from a number of content providers that work within Joomla. Most site administrators will use Joomla as the content provider for RokSprocket as it pulls articles from your primary Joomla install and arranges them to meet your needs.
Alternatively, RokSprocket supports the following content providers:
- K2
- ZOO
- Simple
- ContentBuilder
- EasyBlog
- Seblod
- FieldsAttach
Using the 'Simple' Content Provider
With the introduction of RokSprocket 2, you can use another content provider named Simple which allows you to manually configure a RokSprocket module without having to reference any articles hosted on your site. In fact, the Simple content provider option gives you complete control over every aspect of your RokSprocket module's line items.
-
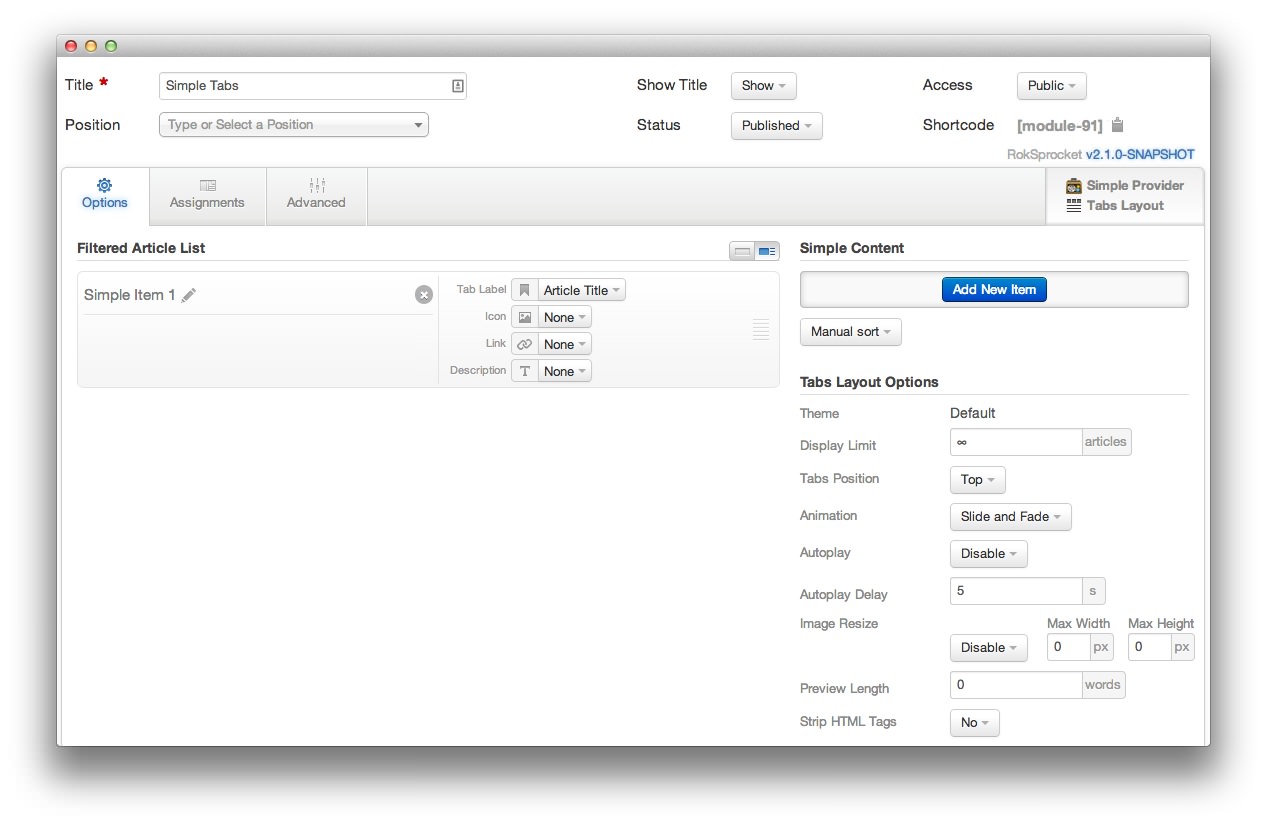 1Rename ItemThe pencil icon gives you the ability to rename an item in your module.2Item SettingsThe tab label, icon, link, and description all need to be entered manually as this information is not automatically pulled from a source.3Add New ItemThis button adds a new blank item to the module.4DeleteThe circular X icon gives you the option to delete a line item. This can not be undone, and you will need to click the icon twice to lock in the change.
Rename Item: The pencil icon gives you the ability to rename an item in your module.
Item Settings: The tab label, icon, link, and description all need to be entered manually as this information is not automatically pulled from a source.
Add New Item: This button adds a new blank item to the module.
Delete: The circular X icon gives you the option to delete a line item. This can not be undone, and you will need to click the icon twice to lock in the change.
When using ‘Simple’ as the content provider, you can set ordering to random and/or manual. Since items are not pulled from an existing source, you can arrange them to meet your individual preferences with the option to allow visitors to activate random sorting. This is done to give you maximum control over how content is presented so the module appears the way you want it to every time a visitor loads the page.