K2 Styling Guide
Your guide to using RocketTheme's built-in styling for K2.
Introduction
K2 is a powerful content extension for Joomla, and we use it in our demo sites to enhance content management and presentation. While you can certainly run one of our themes without K2 installed, we choose to support it because it is a solid extension that provides a benefit to many of our users.
The philosophy behind K2 is to bring the best bits and pieces from WordPress and Drupal to Joomla. Where Joomla excels as a content management system (CMS), it does have points where it could be a little more user friendly, especially for someone migrating from another platform.
While K2 might not completely replace Joomla's integrated article system for everyone, it does add a number of useful tidbits that can help you make the most of your site. Tagging, image management, comments, and other options pick up where Joomla leaves off with a powerful full-featured article management solution. This is in addition to its user and media management enhancements.
Below, we will detail exactly how we set up each of our Gantry-powered template demos using K2.
NOTE: This guide only applied to templates created on the Gantry 4 framework.
Installing K2
K2 is installed the same way any other Joomla extension would be installed. We recommend downloading it directly from the official K2 site so you have the most updated copy.
Once downloaded, you just need to follow the standard module installation procedures. We have provided a guide for this process in our documentation to assist.
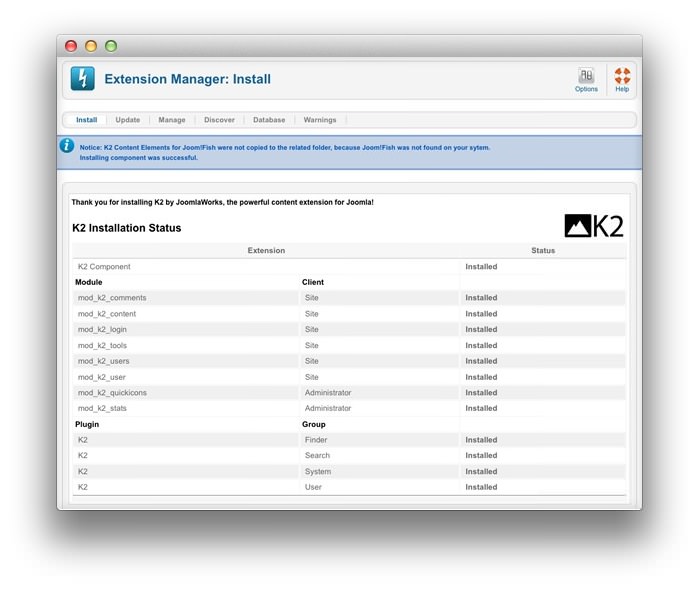
Once installed a screen similar to the one pictured above should appear.
The next step you will want to take is actually activating K2. You can do this via the Template Manager by navigating to Administrator -> Extensions -> Template Manager -> (Your Default RocketTheme Template) -> Advanced and turning the K2 Styling option On (pictured below).

You might also want to check to make sure the K2 extensions are individually activated by navigating to Administrator -> Extensions Manager -> Manage and searching k2. There are about a dozen individual extensions that belong to K2 which should be activated in order to allow you to take full advantage of its features.
Setting K2 Image Parameters
For the purpose of our demo sites, we do make one common modification in K2's image parameters in order to ensure that our content is displayed in a way that is both responsive and in-line with our style preferences.
You can reach the K2 Parameters menu by navigating to Administrator -> Components -> K2 and selecting Parameters from the options in the upper-right area of the resulting page. From there, you will need to select the Images tab to see the options below.
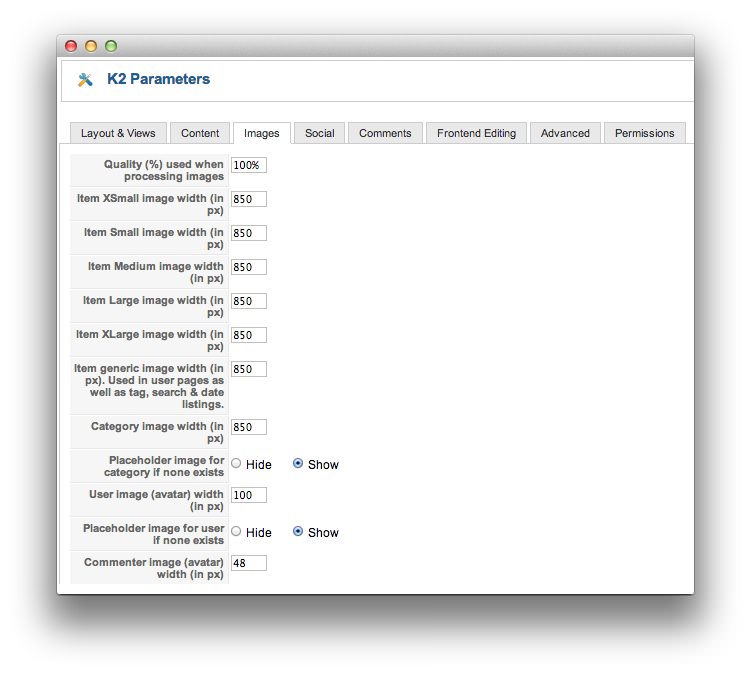
As pictured above, we have set the image width maximum to 850 in all of the applicable fields. This allows our template's built-in responsive features to function in sync with K2.
Creating a Category
Creating categories in K2 works similarly to the way you would do it in WordPress. You can create any number of categories and subcategories to meet a variety of article topics. For example, a food blog might have Fruit as a category and Oranges as a subcategory filled with recipes and tips about oranges.
To create a new category, you will want to navigate to Administrator -> Components -> K2 -> Categories and select New from the options listed in the upper-right area of the K2 Categories screen.
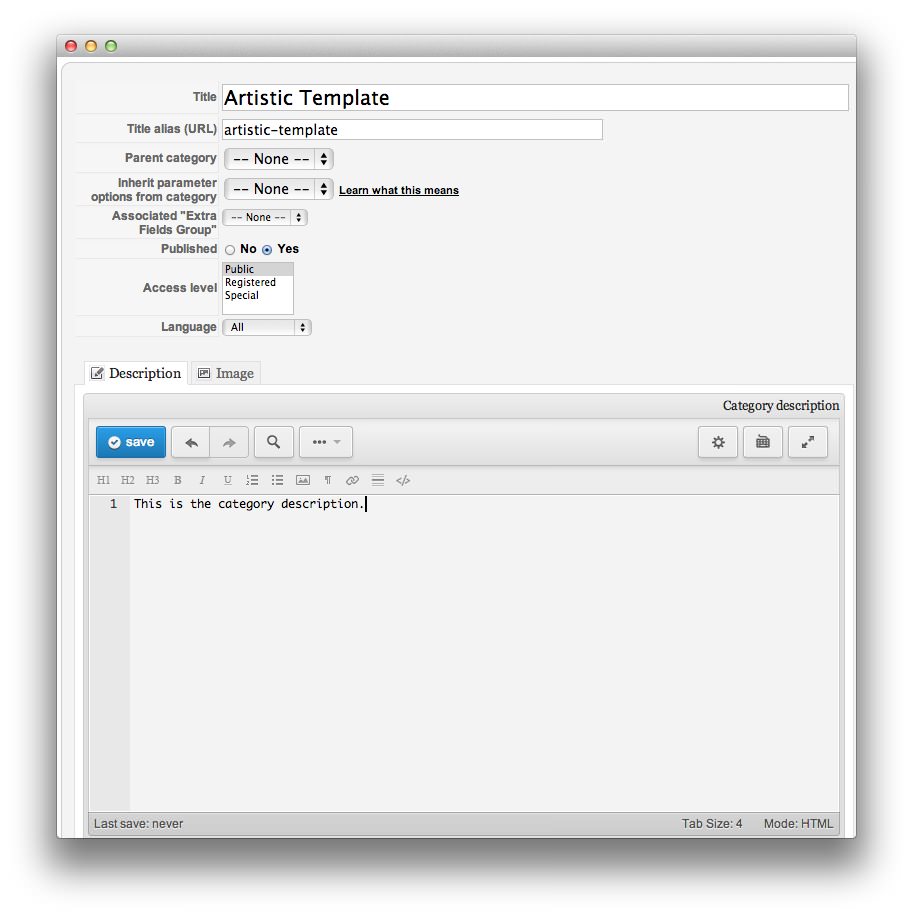
Here, you will see a page with a number of different options and fields. While the layout options are all optional and typically work well at their default settings, you will want to give your category a name, optionally an alias which your site will reference when building a URL for the content, a description for the category, and an image (we recommend one set to 850px or wider) which will be used to display your category in conjunction with our unique styling in RokSprocket, as well as other areas of your site where category listings might warrant an image and/or description.
Creating a Subcategory
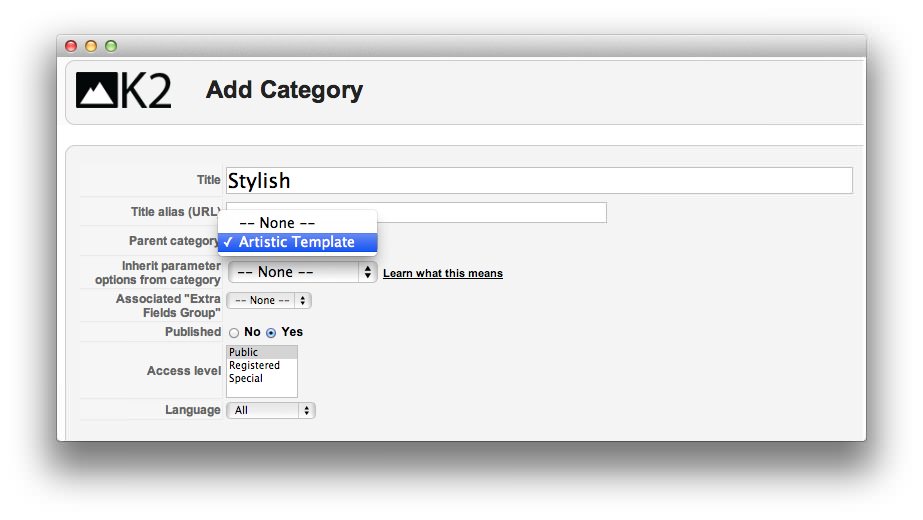
Creating a subcategory works almost the exact same way as a category. The only difference is that you will assign the parent category in the Add Category screen as pictured below.
Subcategories can be assigned their own description, image, and unique display options. You can also add access level permissions to make them visible only to select user groups.
Creating an Article/Item
K2 refers to articles as items. These items can be assigned to categories as they would be in any other scenario on Joomla, WordPress, or Drupal. The only difference is that these assignments are based in K2 and not on the built-in Joomla article management system.
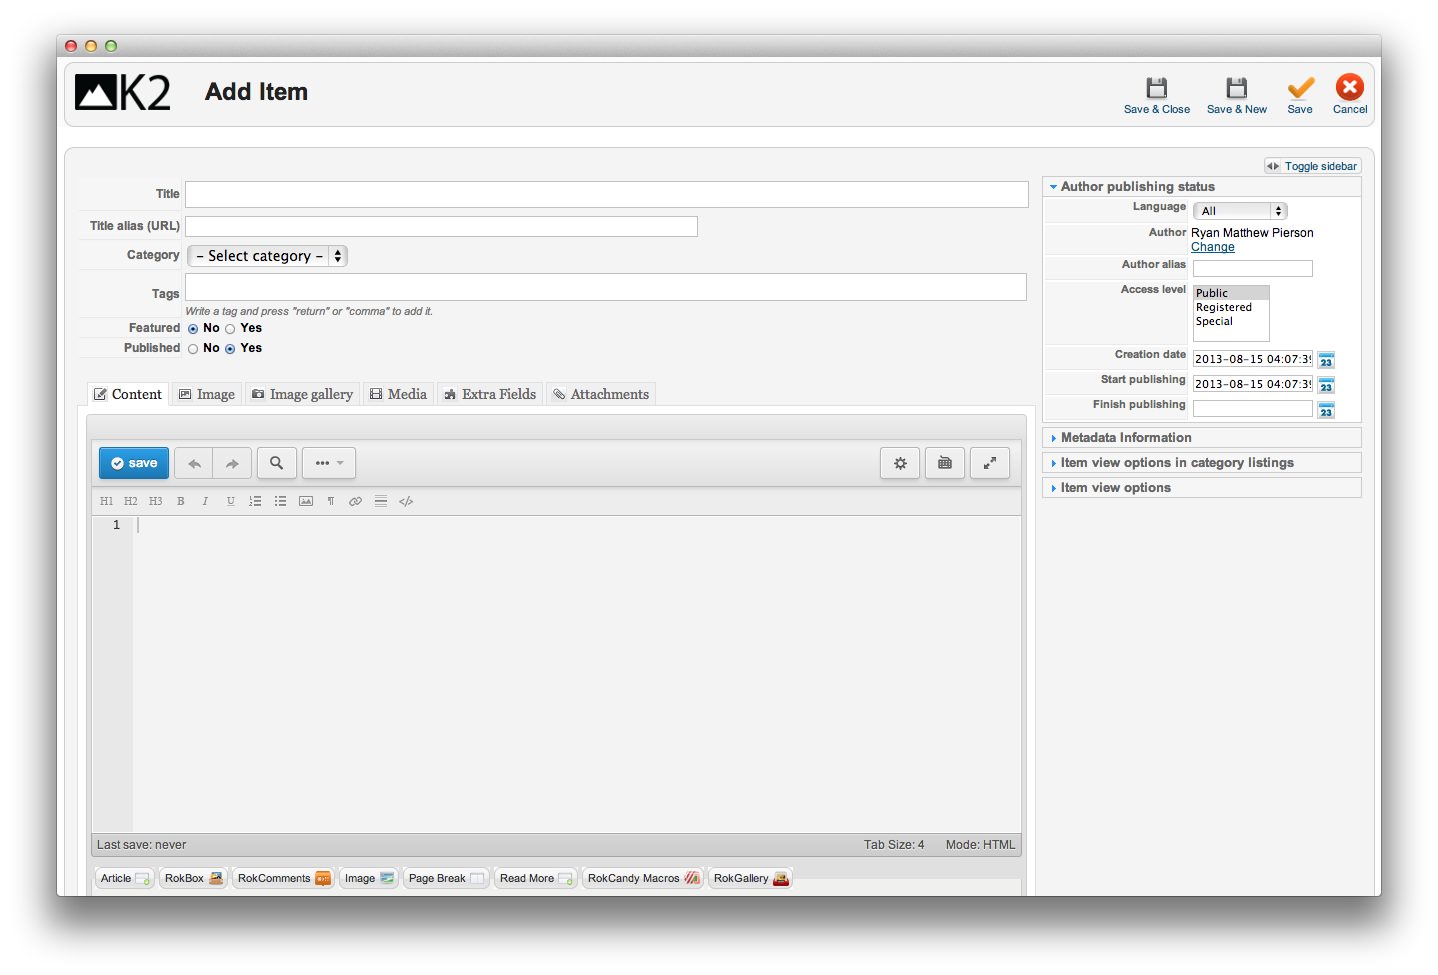
You have all the features of Joomla's article manager on this screen with additional support for extra fields, images, attachments, and tags. Tags can be a huge advantage for any site manager with a lot of content to present that needs a little something more than simple categorization. Tags make it easy to sort and present content based on specific subject without putting your users through a maze of different menu items to do so. It can also make it a lot easier to locate similar content to recommend to readers searching for more information on the topic.
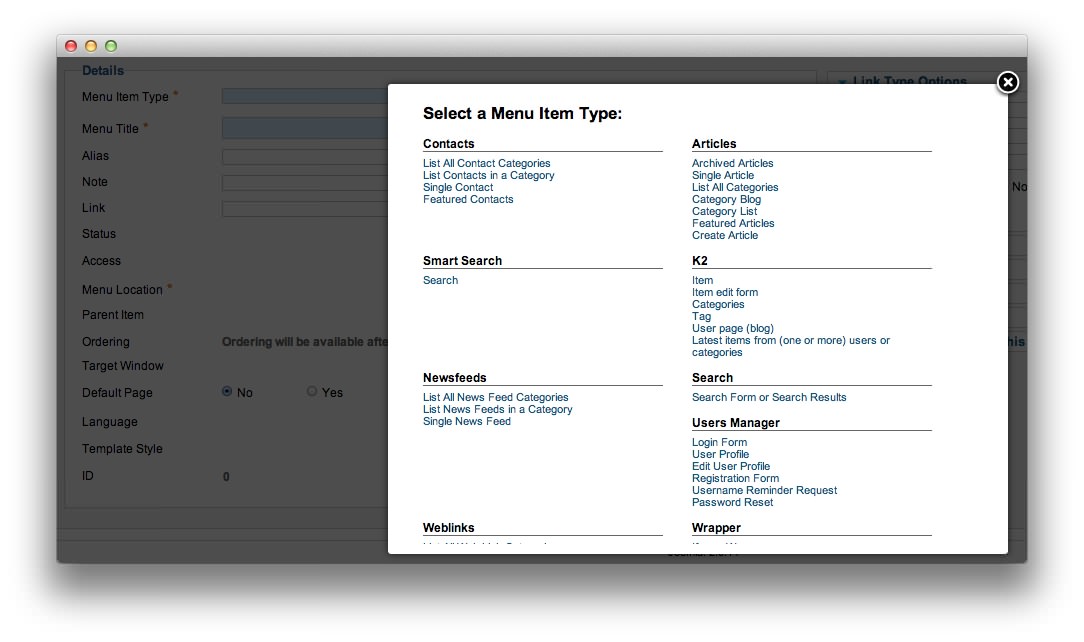
Creating a K2 Menu Item
Like any Joomla content, you will need to add K2's categories to your menu system in order to have them appear on the main menu of your site. This is an easy process, and it works very much the same way as it does with content written in Joomla's article management system.
Simply navigate to Administrator -> Menus -> (your desired menu) -> New and select your desired category, article, tag, or even any of the latest items in your K2 article collection to appear in the menu as a menu item (as pictured below) as the Menu Item Type.
Everything else from this point works as it would if you were displaying content from Joomla's article manager. Just remember to use K2 when you create new articles otherwise they won't appear in the K2 portions of the menu.