How to Install a Joomla 3.x RocketLauncher
Your Guide to Installing a Joomla 3.x RocketLauncher from RocketTheme
How to Install
Installing a RocketLauncher for Joomla 3.x is a fairly straightforward process. There are several ways to do it, and all of them offer their own benefits depending on the individual needs of the user. The preferred method depends on a number of factors, including whether you are installing to a localhost or remote hosting environment.
One of the clear benefits to installing via a RocketLauncher is that you receive a copy of our demo site, complete with preset modules. Due to licensing restrictions, some of the images used in the demo may be replaced with a placeholder, but the settings, modules, and presets are all indicative of what you would find in the demo.
NOTE: If you are planning to create a multilingual website, we recommend against using the multilingual set up that Joomla offers as part of the installation process. This will interfere with the template's sample content and will cause confusion. You can, of course, set up multilingual content after installation.
Technical Requirements
Before installing, you should make sure that your server meets the minimum requirements for the Joomla version associated with the RocketLauncher you wish to use. These requirements are made available on Joomla.org and can be verified against your existing server version, PHP, and MySQL (or supported alternatives). For most users with remotely hosted sites, Cpanel provides this information on the left-hand sidebar.
Currently, the Joomla requirements are as follows:
Joomla 3.x
| Software | Minimum | Recommended |
|---|---|---|
| MySQL | 5.1 + | 5.4 + |
| MSSQL | 10.50.1600.1 + | 10.50.1600.1 + |
| PostgreSQL | 8.3.18 + | 8.3.18 + |
| PHP | 5.3.1 + | 5.3.1 |
| Apache | 2.x + | 2.x + |
| Nginx | 1.0 | 1.1 |
| Microsoft IIS | 7 | 7 |
For users on a non-Microsoft server architecture, MSSQL will not appear under the database options during installation. Instead, you will be able to choose between PostgreSQL, MySQL, and MySQLi. MySQLi is the recommended database type for Joomla 3.x due to its native support and enhanced performance.
Downloading and Installing
A RocketLauncher allows you to essentially download and install Joomla, the Gantry framework, and a copy of the demo site for any RocketTheme template you prefer. This is the easiest way to hit the ground running with Joomla and a RocketTheme template as it will give you a pre-configured site with all the required support files you need to build on.
Before you can initiate the Web-based installer, you will need to download the RocketLauncher ZIP file from the RocketTheme website. You can do this by navigating to the details page of your desired template, selecting Download and choosing the RocketLauncher file associated with the version of Joomla you wish to use. Be careful not to download a Joomla 2.5 RocketLauncher if you really want 3.x.
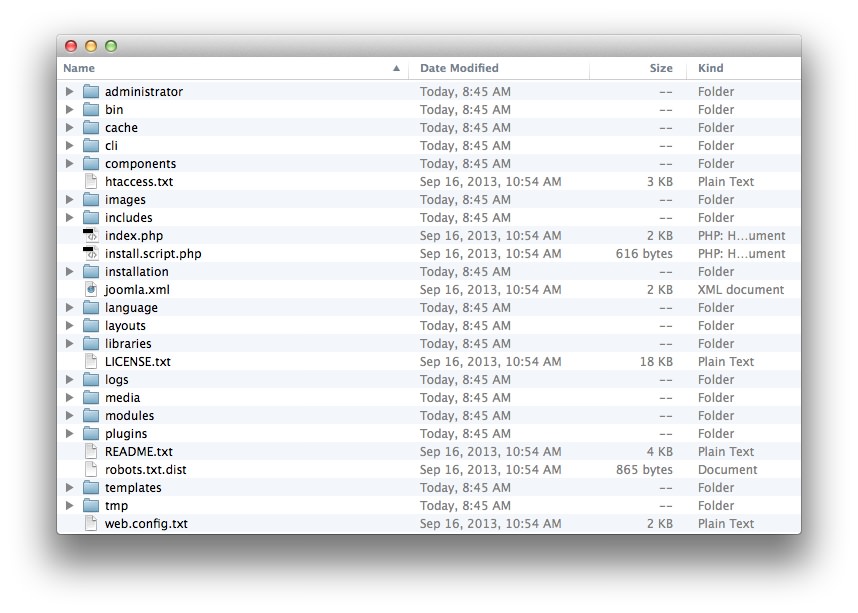
Once you have downloaded the ZIP file, you can either upload it directly to the root directory of the site you wish to have it appear to and unzip, or unzip it first and upload it manually (if your host does not allow unzipping via FTP).
You should then be able to navigate to the root URL of your site to initiate the Web installer.
Web Installer
-
 1Select LanguageWhat language do you wish to use?2Site Name and DescriptionWhat name would you like your site to have? What description would you like to give search engines for your site?3Administrator InformationThis is where you set up the administrator email, username, and password.4Site OfflineDo you want to site to be live immediately after installation?
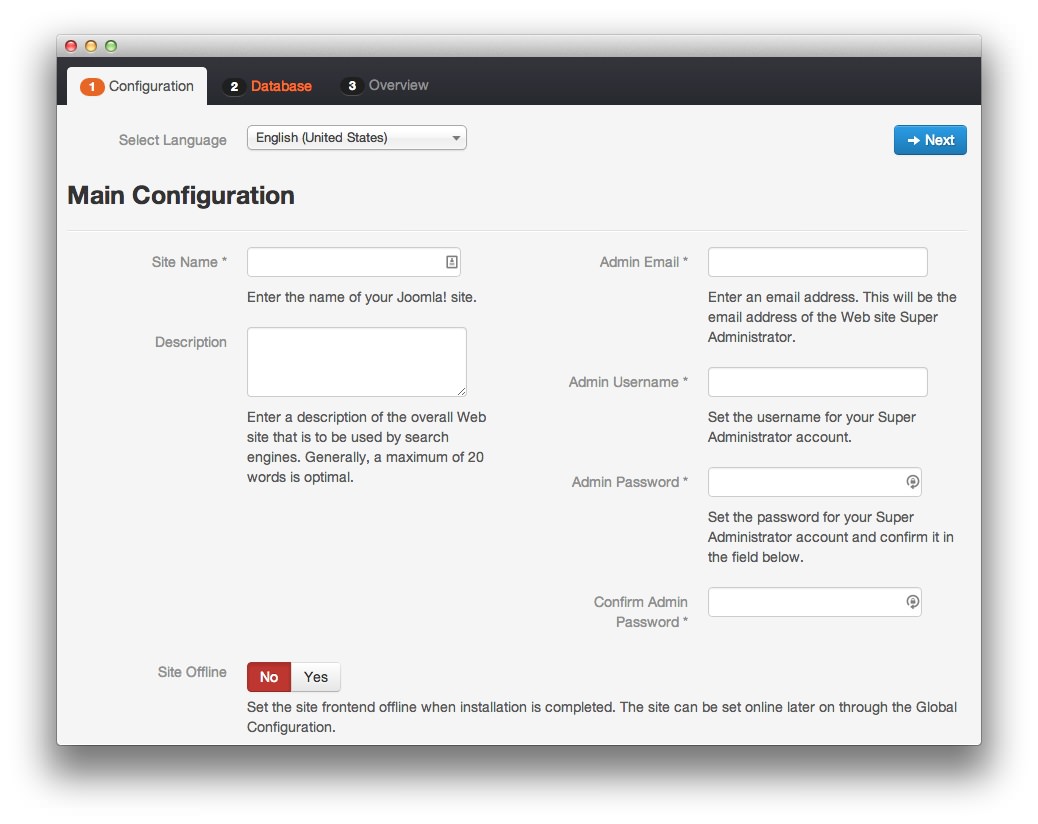
The first page in the Joomla! 3.x Web Installer is to select your preferred language. This can be done using the Select Language drop-down menu on the Configuration tab within the installer.
Next, you can name your site and give it a description. This description will be used by search engines as a reference to what it is your site is about. Ideally, it'll be the cached description Google displays when people search for something that can be found at the root of your site.
Next, you will need to give yourself an administrative user name and password. This will allow you to receive email updates from the site as well as log in to the Administrator area, also known as the backend where you can configure site settings, layout, user properties, and customize the site to meet your specific needs.
You can also opt to have the site remain offline (available only with an administrator's user name and password) until you are ready to switch it on later. You can have the site go live right away, but this means the public will see the demo duplicate as your home page until you have finished configuring your options.
Once you are done with this page, hit the Next button.
-
 1Database TypeWhat type of database would you like to use for the site?2Host NameWhat is your database username?3User NameWhat is your database username?4Database NameWhat is the name of your current or new database?5Table PrefixThis sets the prefix that appears on any Joomla-related tables in the database.6Old Database ProcessThis option gives you the opportunity to back up or remove previous Joomla install data.
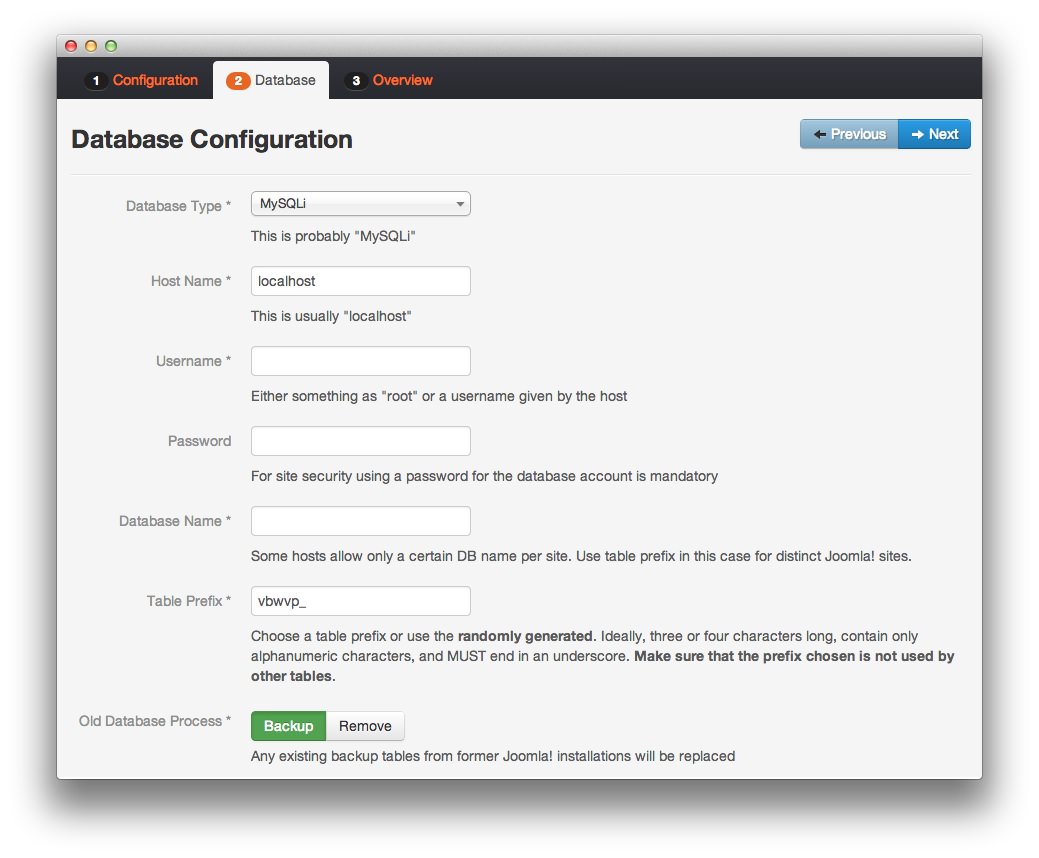
The next step in installation concerns the database you wish to use. If Joomla is your content management system, then your database is where this content is stored and made available. Joomla will actually create a database for you so you do not have to bother with setting this up on your end. Some Web hosts do not allow this feature, so you may have to create it yourself using Cpanel or another administrative tool your provider gives you to create a MySQL, MySQLi, or PostgreSQL database.
The Database Type option gives you the ability to choose which type of database you wish to link to your Joomla site. For most users, MySQLi is the database type you will want to select.
You will then be asked for your database's Host Name (point 2). This should be provided by your Web host. It is usually localhost but can be different, depending on how your server is set up.
Your Username and Password need to be entered next. This information may be provided by your host, or available for you to configure to your preferences. Check with your host to determine which options are available to you. The same applies to the Database Name field.
The Table Prefix is used to differentiate your Joomla data from other data stored in the database. One will be randomly generated in this space, though you can change it to whatever you would like.
If you are using a pre-created database, you will want to pay close attention to the backup option. This will allow you to either back up any data presently stored there in the event that something goes wrong with your installation. If you have an existing Joomla install on the database, it will be removed by this process. If it is a fresh install with a new database, this option really is not going to help or hinder you moving forward. Click the Next button to continue.
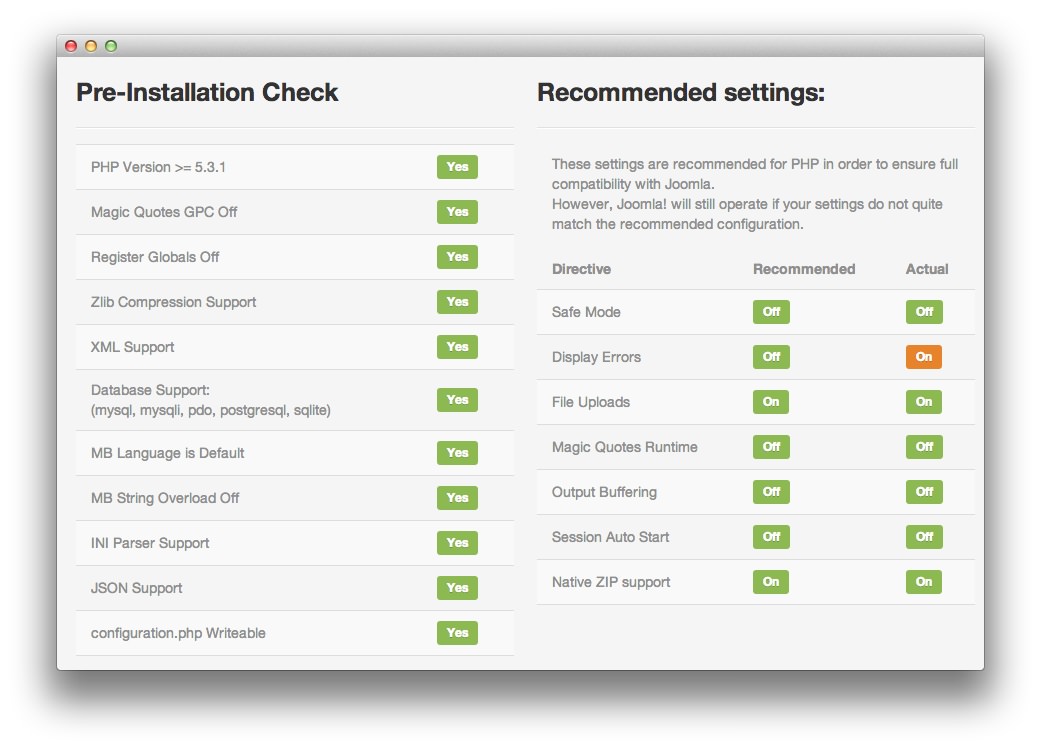
The final installation page will go over your email address, confirm your database configuration, and alert you to any server-side settings which might conflict with the use of Joomla. Only the settings listed under Pre-Installation Check are mandatory in order for Joomla to function properly.
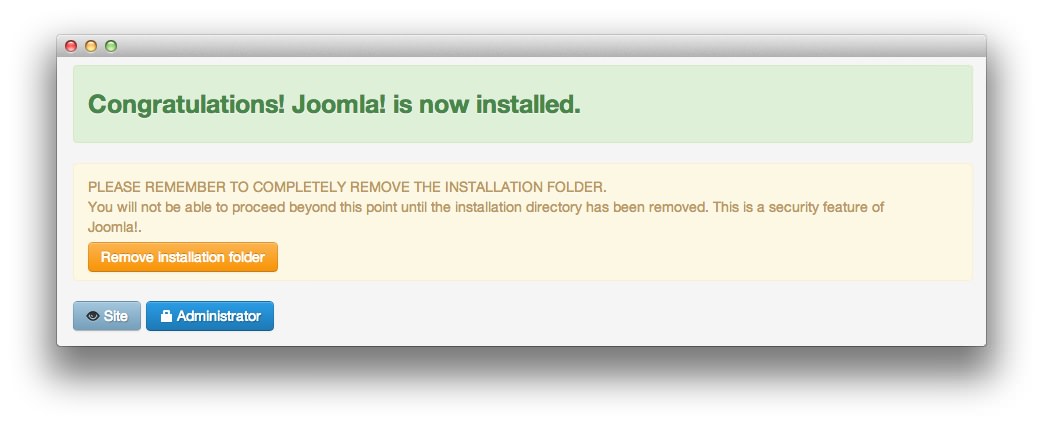
Once you have verified the settings on this page, just hit Install and your Joomla site will be set up for you. You will be prompted to remove the installation folder in the next page. By clicking this, you will have completed the installation process.
After installation is complete, you can begin customizing the site and replacing our demo content with your own.