Akuatik: Team Particle
Your Guide to Recreating Elements of the Akuatik Demo for WordPress
Introduction

The Team particle is designed to make displaying your team members easy. A subtle animation brings their images to life.
Here are the topics covered in this guide:
Configuration
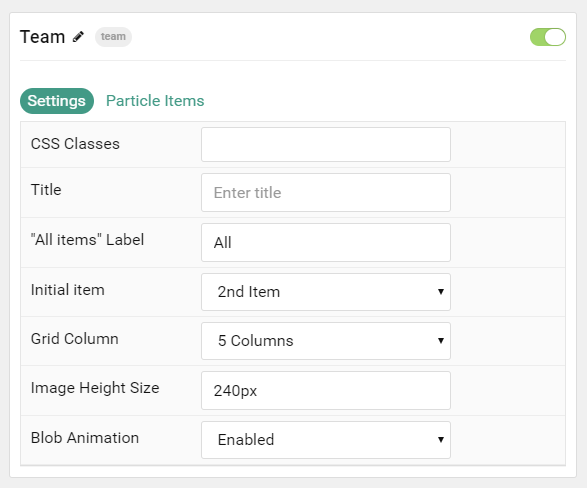
Main Options
These options affect the main area of the particle, and not the individual items within.
| Option | Description |
|---|---|
| CSS Classes | Enter the CSS class(es) you want to use in the content of the particle. |
| Title | Enter the title of the particle, as it will appear on the front end. |
| "All Items" Label | Enter a text label to appear when the visitor wants to show all team members. |
| Initial Item | Enter the group number to appear as the initially-selected group on page load. |
| Grid Column | Enter the number of columns items will appear in. |
| Image Height Size | Enter a height for each item. (Example: 240px) |
| Blob Animation | Enable or Disable the blob animation that overlays the team member images. |
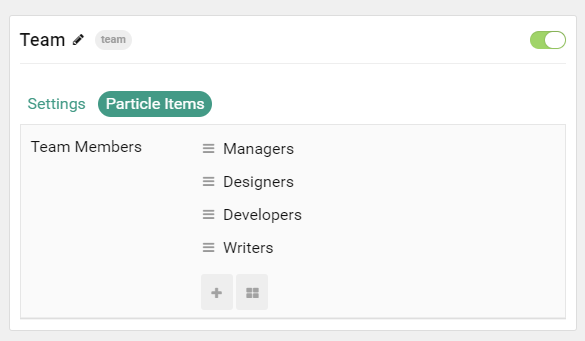
Item Options
These items make up the individual featured items in the particle.
| Option | Description |
|---|---|
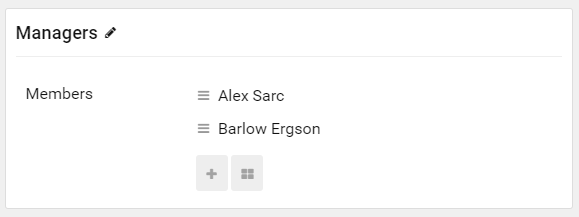
| Item Name | The item name becomes the title of the content team item. |
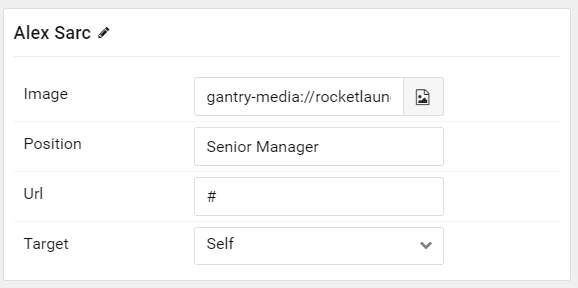
| Image | Select the image you would like to have displayed with the item. |
| Position | Enter a role for the team member here, appears as written. |
| URL | Enter the url you want that link to go to. |
| Target | Set the target for the button. You can choose between Self which opens the link in the current tab or New Window which opens links in a new tab. |
Found errors? Think you can improve this documentation? Please edit this page. You can also view the history of this page.