RocketTheme features the exciting and very popular RocketLauncher custom Joomla! install option. With the RocketLauncher Joomla! installer, you can instantly create a Joomla! site complete with custom content that is a perfect replica of our demo sites that has been professionally tuned to look its best, all with just a few clicks. The RocketLauncher package consists of a full 1.5.x Joomla! install, complete with all of the demo images, content, modules, and extensions. By running the installer, your Joomla! site will be set up with all everything needed to create an exact implementation of the demo site automatically. The RocketLauncher packages are available for all template releases from 2007 to present.
This guide takes you through the necessary steps to install the Rocketlauncher for Joomla! 1.5.The initial step is to download the Rocket Launcher itself. The packages are contained within the download section on the RocketTheme website where you find the templates and extensions. Each RocketLauncher pack is located within the corresponding template section, for example, the Versatility 4 Rocket Launcher pack is situated in the Versatility 4 Download Section.
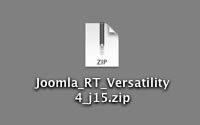
Once in the appropriate section, select the download button for RocketLauncher. A pop-up will appear allowing you to save the package to your computer. It is best to download it to an applicable folder such as RocketLauncher or Rocket Theme for organizational purposes.
Now that the RocketLauncher package is downloaded, we need to extract the archive locally. A range of tools can do this such as 7-Zip. The process is almost identical with all extractors.
We can proceed to the upload step. The idea behind this is to use an upload tool or FTP client such as Filezilla. For our demonstration, FireFTP, an extension for the browser Firefox is going to be our FTP client.
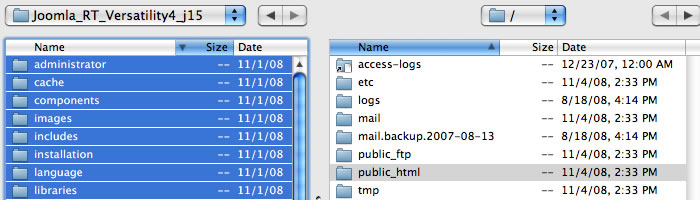
The speed of transfer varies with hosting server speed and your internet connection speed. It is best to upload the extracted folder to the public_html or in some servers it is called the httpdocs directory.
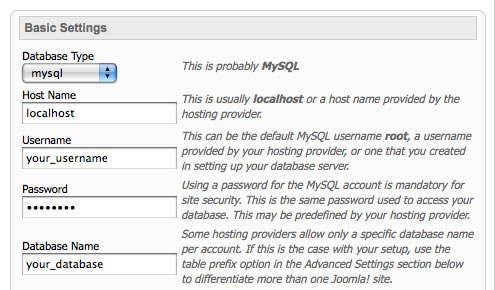
While you are uploading the files to your server, it is time to create your MySQL database. The database is where your Joomla! files and images for your site are stored. You need to login to your hosting account cPanel to create your database. Normally you would use phpMyAdmin to create the database. Be sure to save your information from your database because you will need it when you install Joomla! Please contact your webhost if you need help creating your Joomla! database.
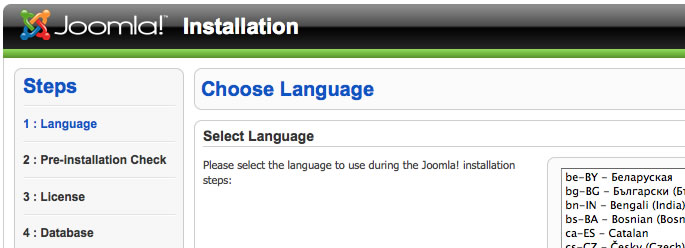
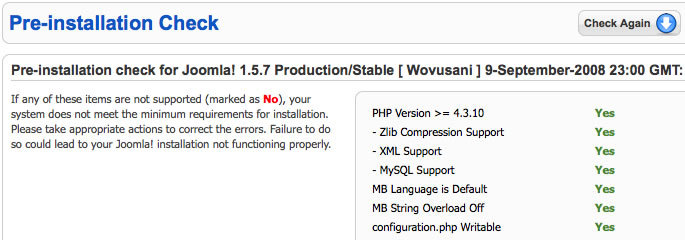
Once the Joomla! files have finished uploading, we can now run the Joomla! installer to install the RocketLauncher onto your web server.
Once that is complete, select next.
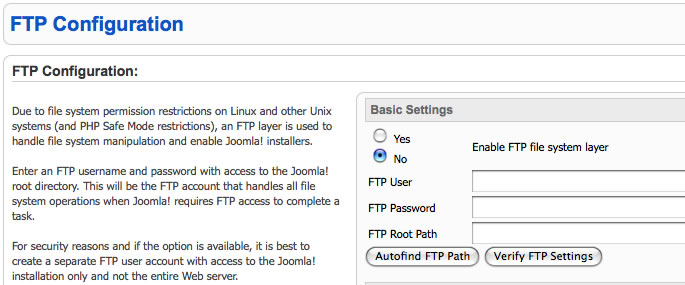
On this page, you can enter your ftp details, although it is not a required step.
Choose Next
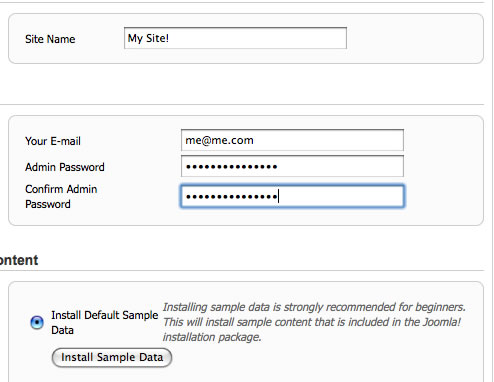
This is where you enter the title of your site, your admin e-mail and password. Write this information down so you do not forget it. Now, in order to get your new RocketLauncher to look like our demo site, you must click the Install Sample Data button!
Choose Next
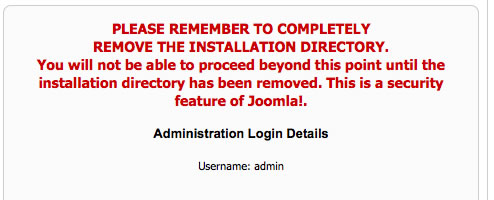
Congratulations! Joomla! is now installed. The final step is to use your ftp client and remove the installation folder. Once you do that, you can begin editing your site.