Orion: Block Content Particle
Your Guide to Recreating Elements of the Orion Demo for Joomla
Introduction
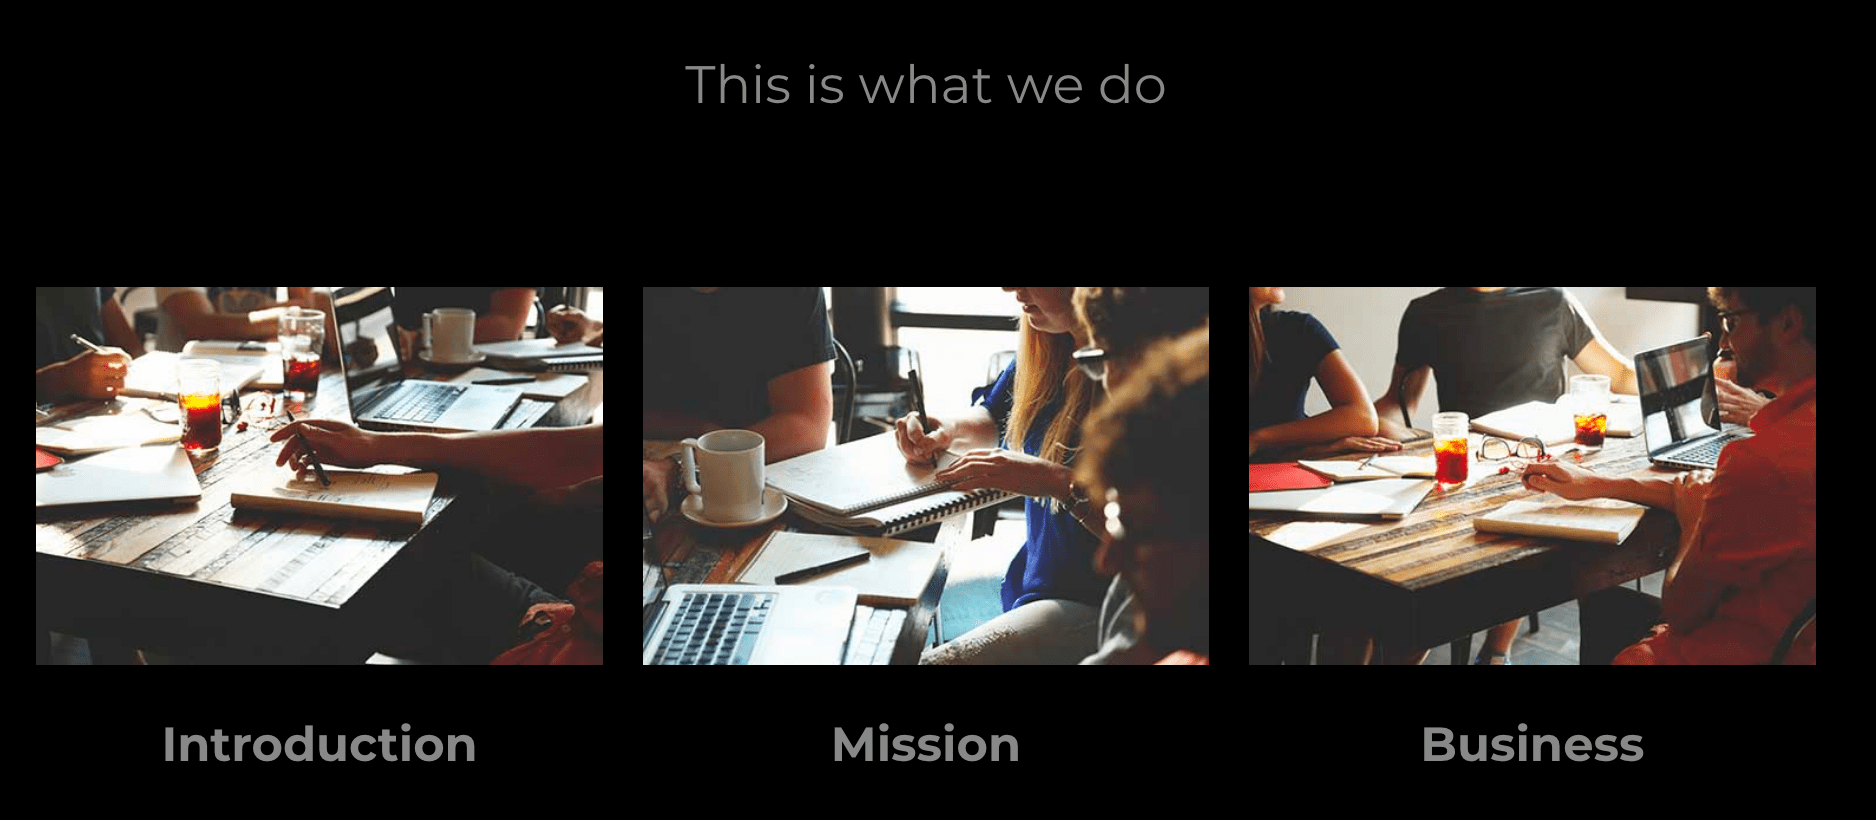
The Block Content particle is a great way to create a clean and simple content block with images and text.
Here are the topics covered in this guide:
Configuration
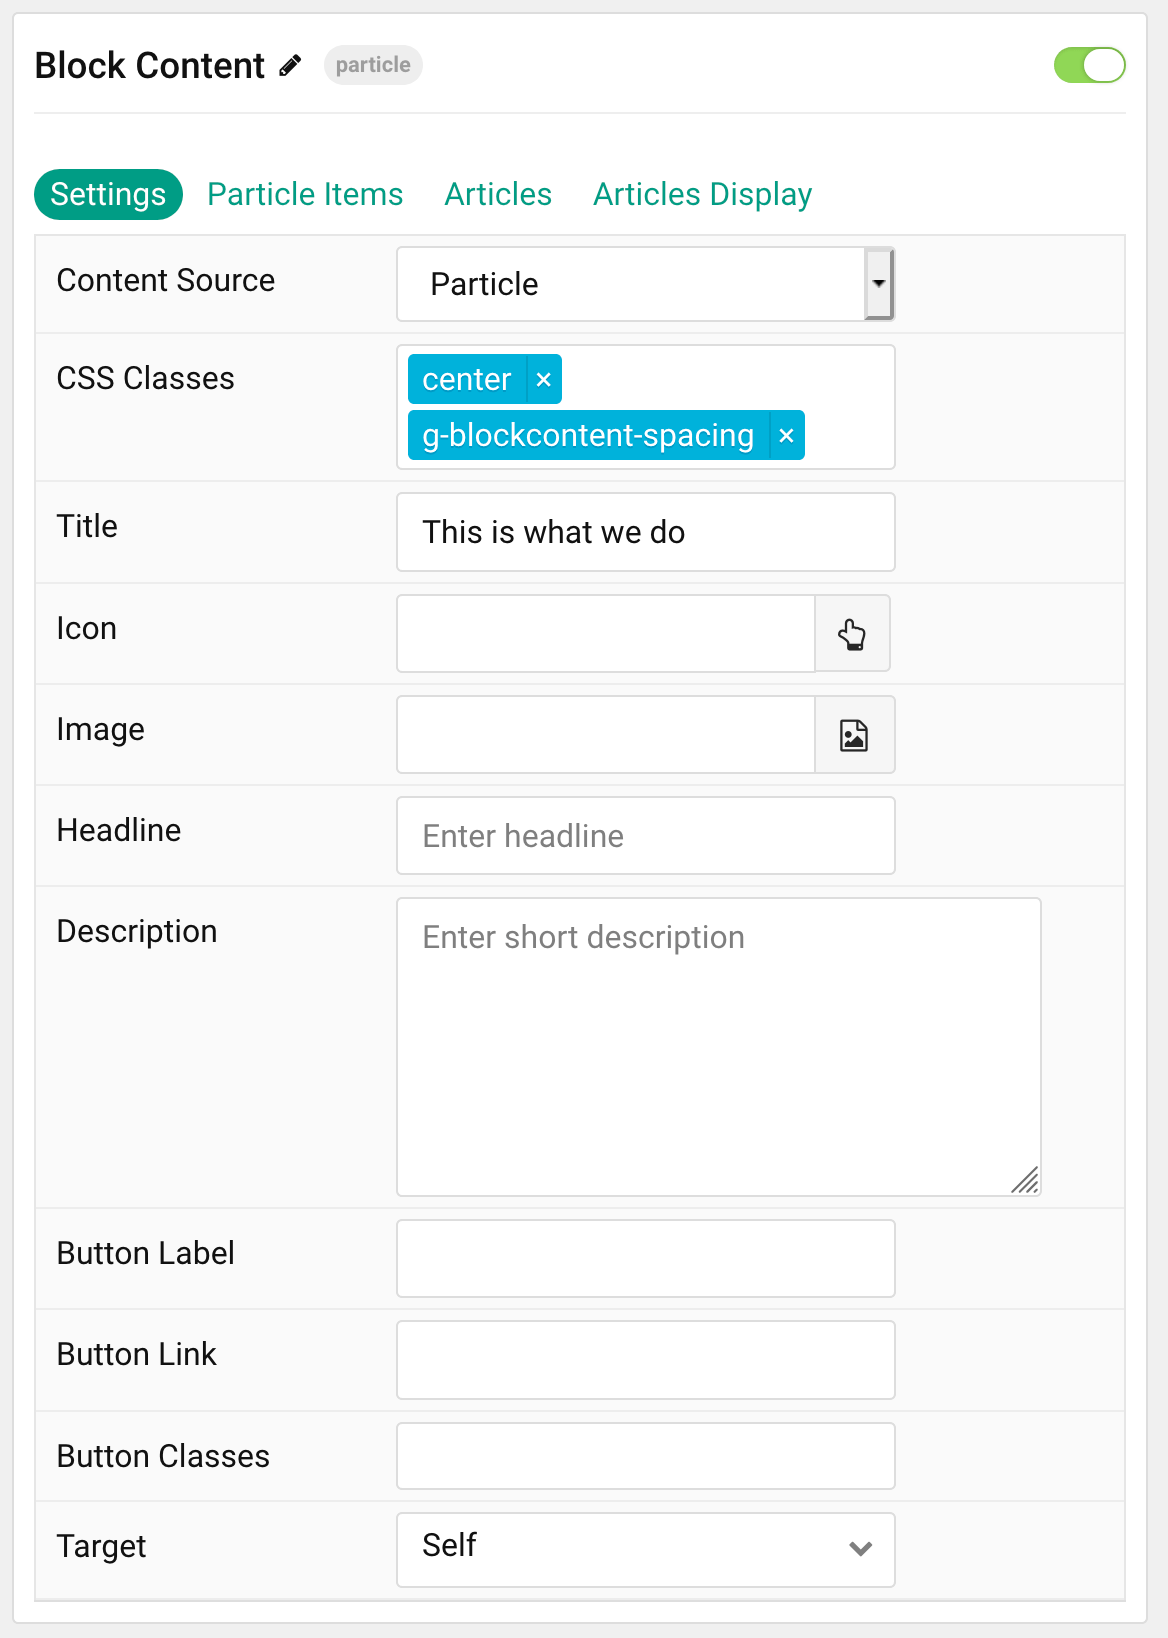
Settings
These options affect the main area of the particle, and not the individual items within.
| Option | Description |
|---|---|
| Particle Name | This is the name of the particle used for back end management. It does not appear on the front end. |
| Content Source | Choose between Particle and Joomla as the Content Source. |
| CSS Classes | Enter any CSS class(es) you wish to have apply to the particle. |
| Title | Enter a title for the particle that appears on the front end. |
| Icon | Set the icon that appears next to the title. |
| Image | Set a main image that appears separate from any Block Item images. |
| Headline | Enter a headline you want to appear on the front end. |
| Description | Enter the text you wish to have appear as the description for the particle. This text appears below the title and headline. |
| Button Label | Customize the text you want to have appear in the link button. |
| Button Link | Customize the link you want the link button to go to. |
| Button Classes | Add CSS class(es) you would like to have apply to the button. |
| Target | Set the target for the button. You can choose between Self which opens the link in the current tab or New Window which opens links in a new tab. |
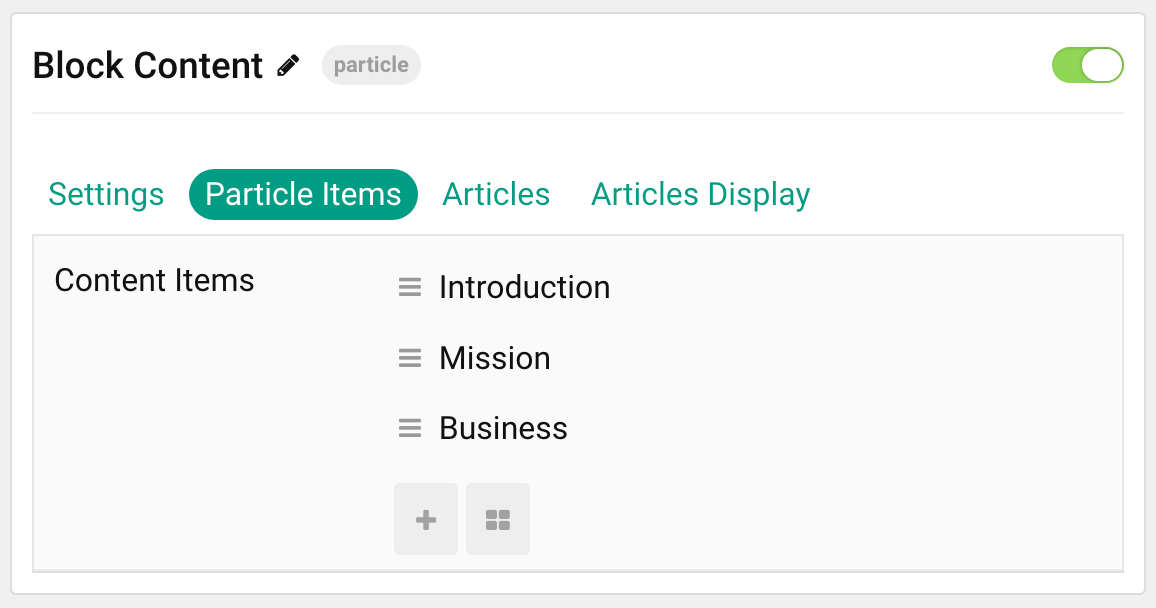
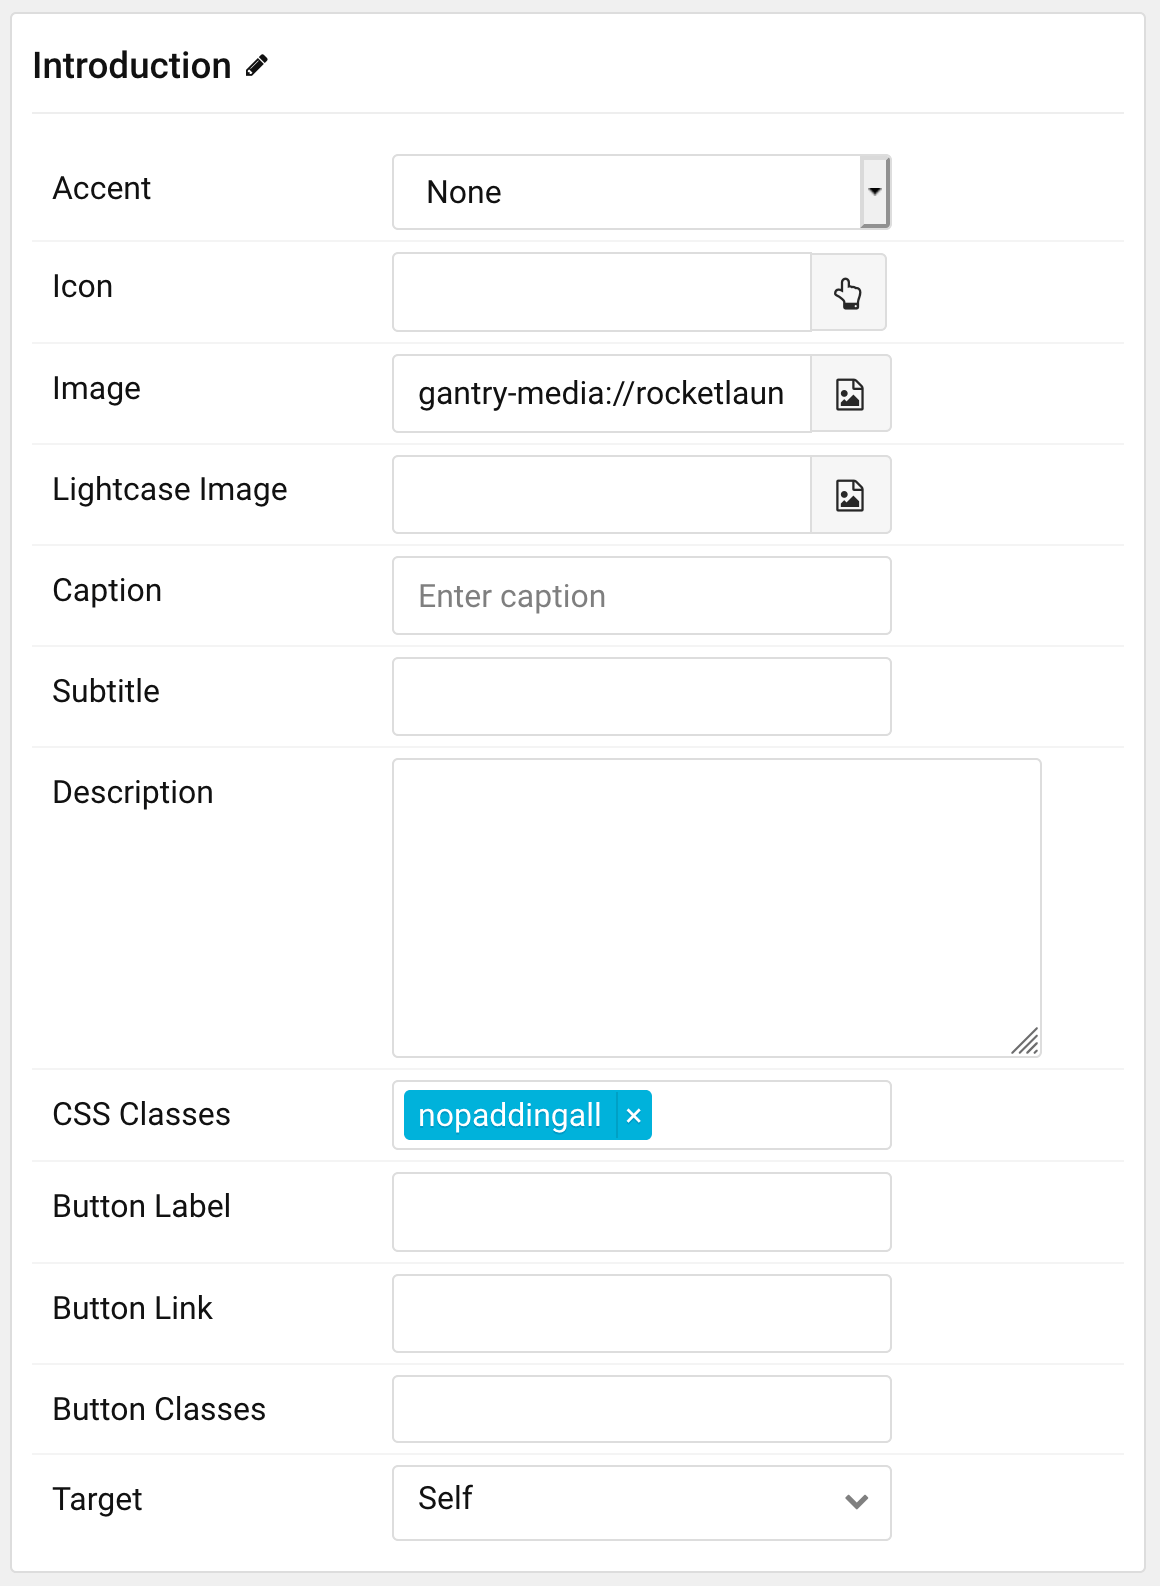
Particle Item Options
These items make up the individual featured items in the particle.
| Option | Description |
|---|---|
| Item Name | The item name becomes the title of the content block item. |
| Accent | Select an accent color used for the item. |
| Icon | Select the icon you would like to have appear with the title area in the block item. |
| Image | Select the image you would like to have displayed with the item. |
| Lightcase Image | If you would like to have a popup appear with a larger version of the image when the image is clicked, this is where you assign the larger image. |
| Caption | Add a caption for the image here. |
| Subtitle | Add a subtitle for the item here. |
| Description | Enter a description for the item here, appears as paragraphed text. |
| CSS Classes | Enter any CSS classes you would like to have apply just to this item. |
| Button Label | Enter the text you would like to have appear as the button link. |
| Button Link | Enter the url you want that link to go to. |
| Button Classes | Enter any CSS classes you want to have apply just to the button. |
| Target | Set the target for the button. You can choose between Self which opens the link in the current tab or New Window which opens links in a new tab. |
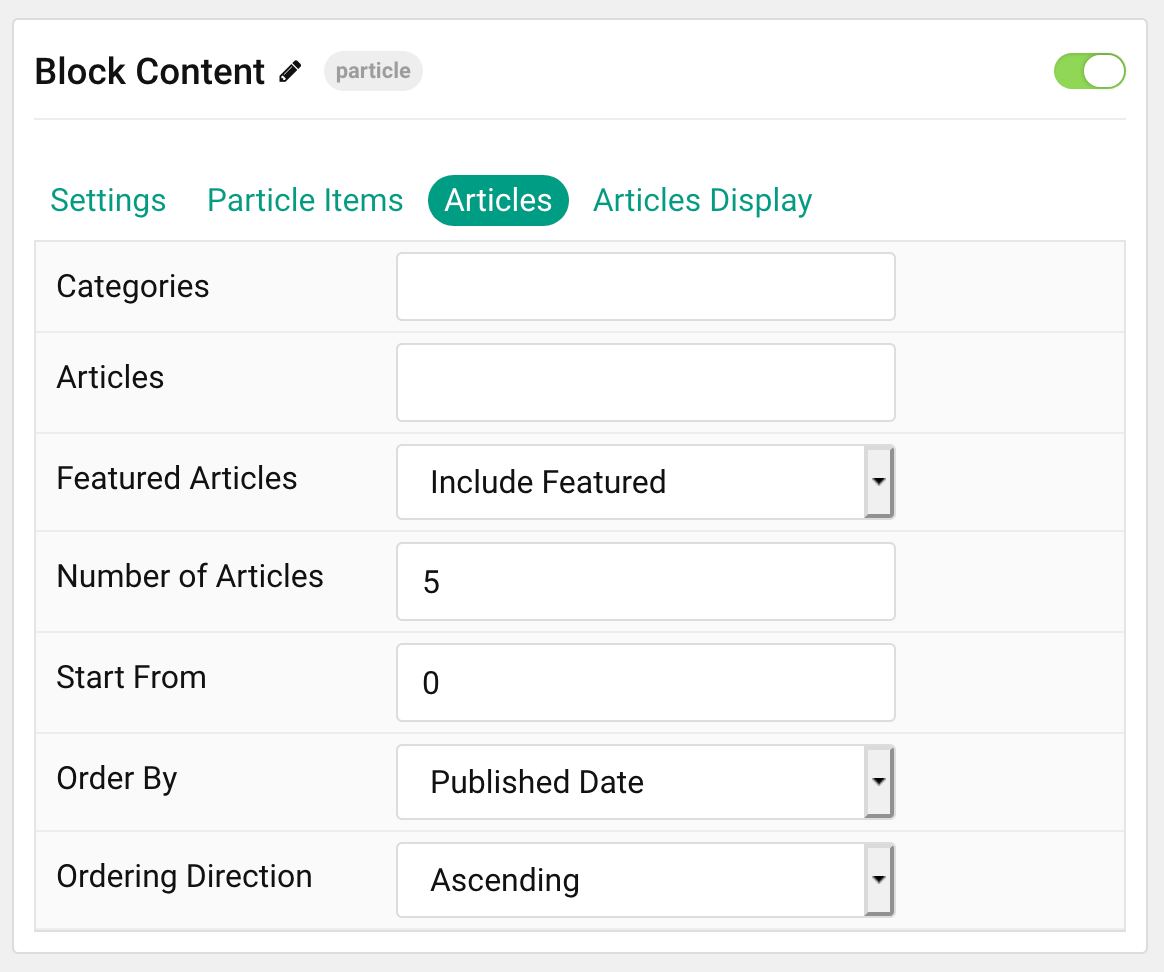
Articles
| Option | Description |
|---|---|
| Categories | Select the categories of articles this particle will display. |
| Articles | Select the number of articles you would like the particle to fetch. |
| Featured Articles | Choose how Featured Articles should be filtered. Choose between Include, Exclude, or Only Featured. |
| Number of Articles | Enter the maximum number of articles to display. |
| Start From | Enter offset specifying the first article to return. The default is '0' (the first article). |
| Order By | Choose the type of factor to order by. |
| Ordering Direction | Choose between Ascending and Descending as the article ordering method. |
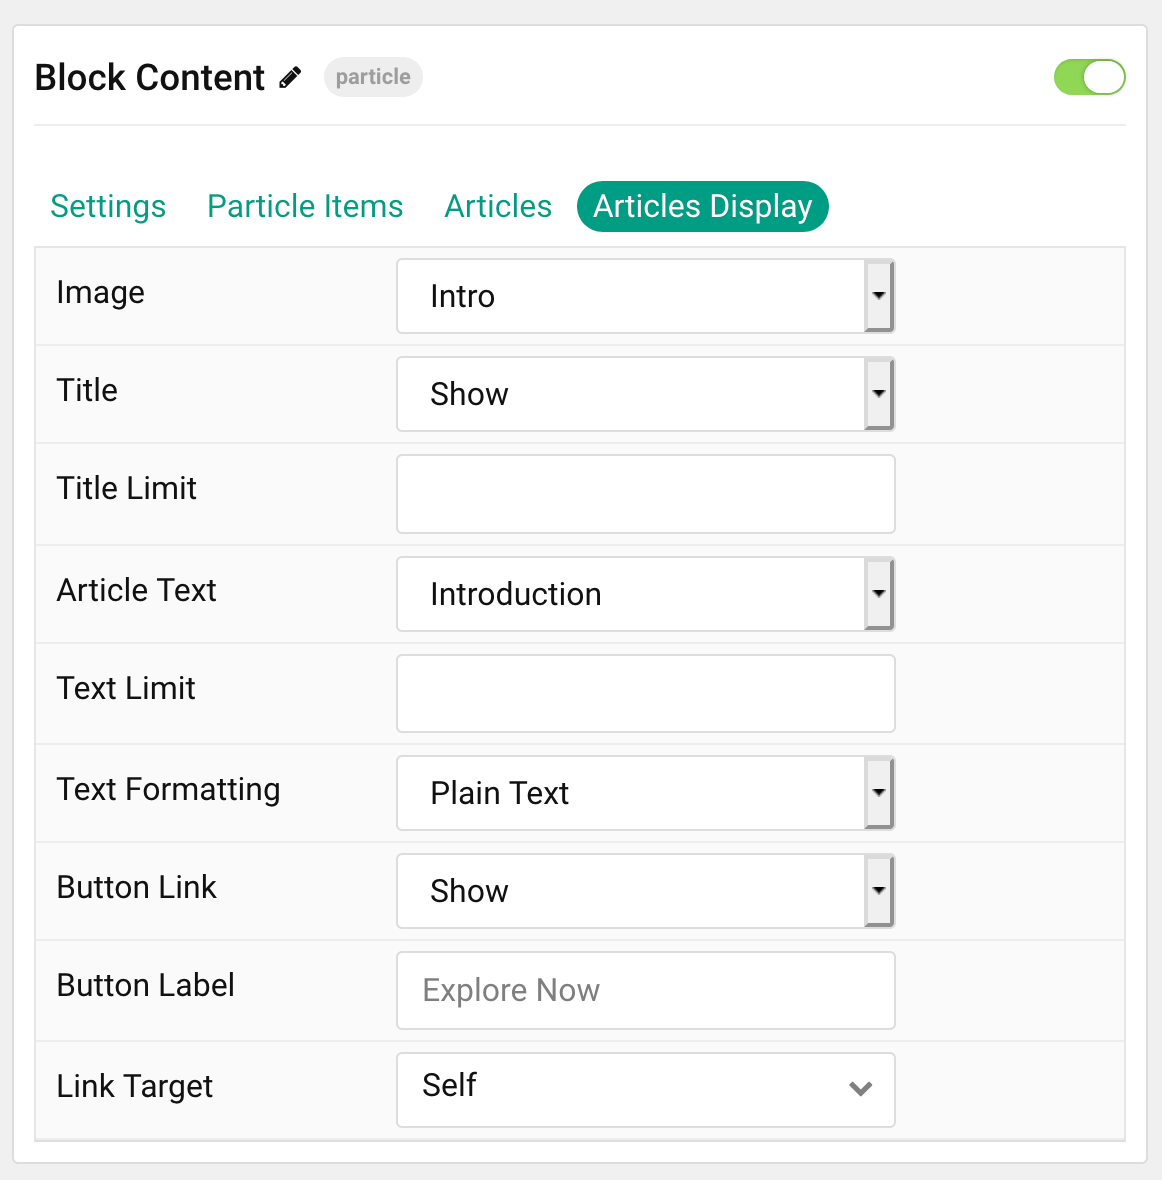
Display
This section configures how articles are displayed.
| Option | Description |
|---|---|
| Image | Select which image in an article should be displayed. |
| Title | Choose whether or not the title of an article should be shown. |
| Title Limit | Set a character limit for titles. |
| Article Text | Choose between showing the Introduction or Full Article text to display. You can also Hide text. |
| Text Limit | Set a limit (in characters) of the article's text to appear. |
| Text Formatting | Select between Plain Text and HTML text formatting. |
| Button Link | Enter the url you want that link to go to. |
| Button Label | Enter the text you would like to have appear as the button link. |
| Link Target | Set the target for the button. You can choose between Self which opens the link in the current tab or New Window which opens links in a new tab. |
Found errors? Think you can improve this documentation? Please edit this page. You can also view the history of this page.