How to Set Up Store Categories in Magento
Store Categories allow you to easily organize products into different stores hosted through Magento.
Introduction
One of the key features of Magento is its support for multiple stores. You can host several entirely different stores from the same Magento install. If, for example, you wanted to open a store that caters to quilters and another that focuses its product offerings on knitters, this can be done with a single Magento install.
Each store pulls its products from a Root Category. These categories need to be set before you set up your stores. This allows you to assign the stores root category when you set it up. If you want to have different stores, but all with the same products, you can assign the same root category to all of them. If you want to have different stores carry different products, you will want to create a Root Category for each store.
Once the Root Categories are set up, you can add sub categories to further organize your product line. These sub categories are the ones that show up by default in the Main Menu.
How to Set up a Root Category
Setting up a Root category creates the highest level of product organization for your site(s). Magento uses these categories to connect your store (or stores) with a set of products.
Creating one of these categories is really quite easy. Just navigate to Admin Panel -> Catalog -> Manage Categories. Once you are on this page, you can create a new Root Category using the orange Add Root Category button located on the left-hand side of the page.
There are four tabs which you can use to set options for this root category.
- General Information - General options for the category including its name, active setting, thumbnail image, category page title, and keyword(s).
- Display Settings - Determines how your products are displayed on the category page.
- Custom Design - Adds custom design options to a category.
- Category Products - This is where you assign products to a given category. If you have one site/store being hosted from your Magento install, this would likely include all of your active products.
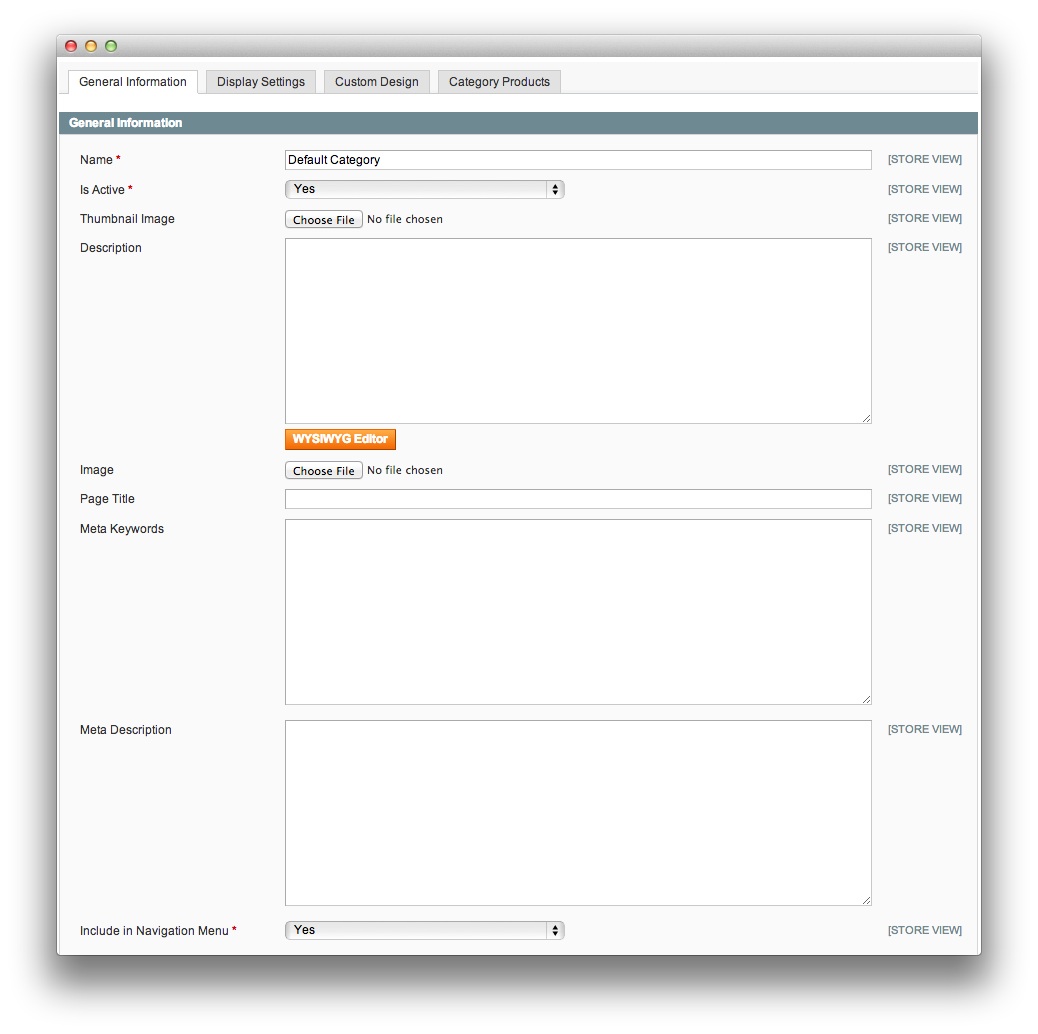
To get your store up and running, you really only need to concentrate on the General Information tab and the Name, Is Active, and Include Navigation Menu settings. You will want to come back to this menu to assign products once you have reached a point where products are created and assignment is needed.
The Name you gives your root category a name, and this is basically a background resource that does not need to appear anywhere on the frontend. It is the name you can best associate with your assigned store. Typically, users opt to stick with "Default Category" if they are just using a single root category and further organizing products by subcategory.
Your root category needs to be active in order to be assigned. Once you have set your category up to your personal preferences, just hit the Save Category button in the upper-right area of the page.
How to Create a Subcategory
Subcategories in Magento are the most basic level of product organization. It is where you sort your products first before diving into more specific attributes. For example, a clothing store might have a subcategory set up for shirts, and another for pants. Within products in these subcategories, they might further be organized using attributes such as color, size, style, etc. You could argue for a second level of subcategories for winter and summer options, though it is entirely up to you as a store manager.
These categories appear in navigation menus and make it easier for your customers to quickly find what they are looking for. In addition to attributes, this is the best single way to separate different types of products.
Creating a subcategory is done almost exactly the same way as a root category. The difference is that you will need to single-click the root category you wish to place the subcategory into before hitting the Add Subcategory button and initiating its creation.
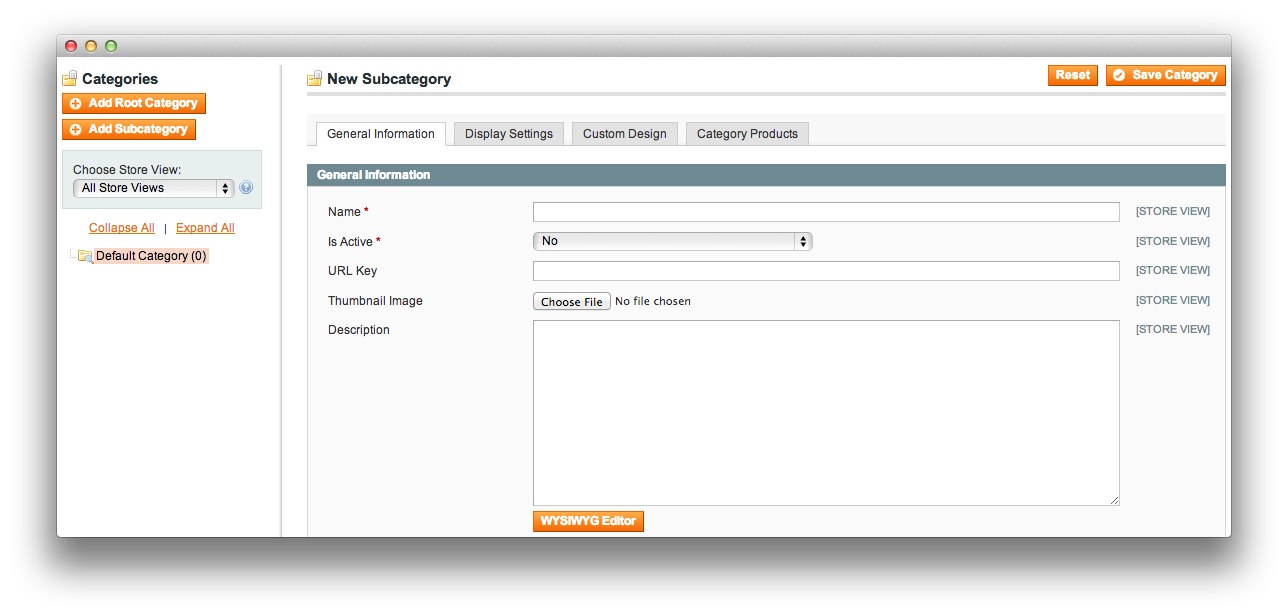
Like root categories, you really only need to concentrate on the Name, Is Active, and Navigation Menu options to initiate its creation. Products can be added later, and we recommend doing this first so you have something to assign these products to.
One additional option you will want to look at is found under the Display Settings tab. Is Anchor allows anything you put in a given subcategory to also appear in its parent category. So, for example, if you have a woman's t-shirt in the Women -> T-Shirt subcategory, it would appear under both Women and T-Shirt category listings.