Chimera: Recreating the Demo - Blog Page
Your Guide to Recreating Elements of the Chimera Demo for WordPress
Introduction
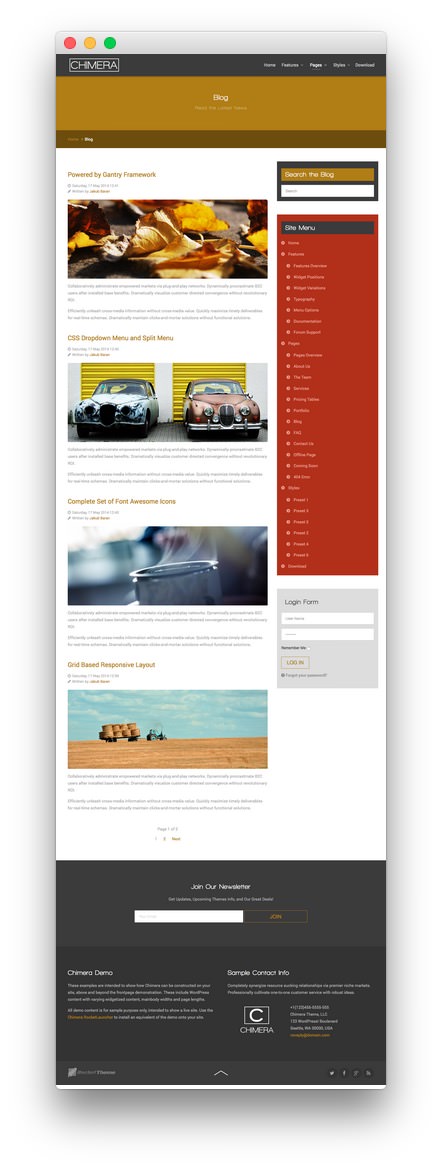
The Blog example page demonstrates how you can create a beautiful page with the Chimera theme. Here is some information to help you replicate this page as it appears in the demo.
Theme Override Options
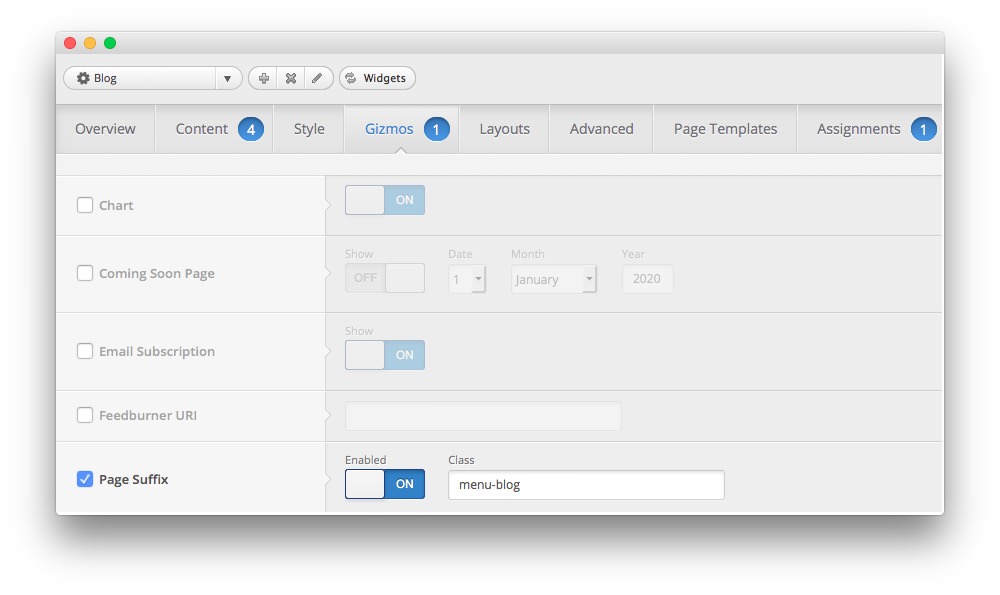
The Blog page is a regular Page. To recreate the layout the way it appears in our demo, enter menu-blog in the Page Suffix field in the Gizmos page inside the Chimera theme settings. This suffix is tied to a class in the demo.less file that sets the page up so it appears the way it does in the demo.
In order for this to work, you should have the Page Suffix option set to On in Admin > Chimera > Gizmos. You will likely need to create a theme override specifically for the page before assigning that suffix to it. For more information on creating theme overrides, visit our Gantry Documentation
Mainbody
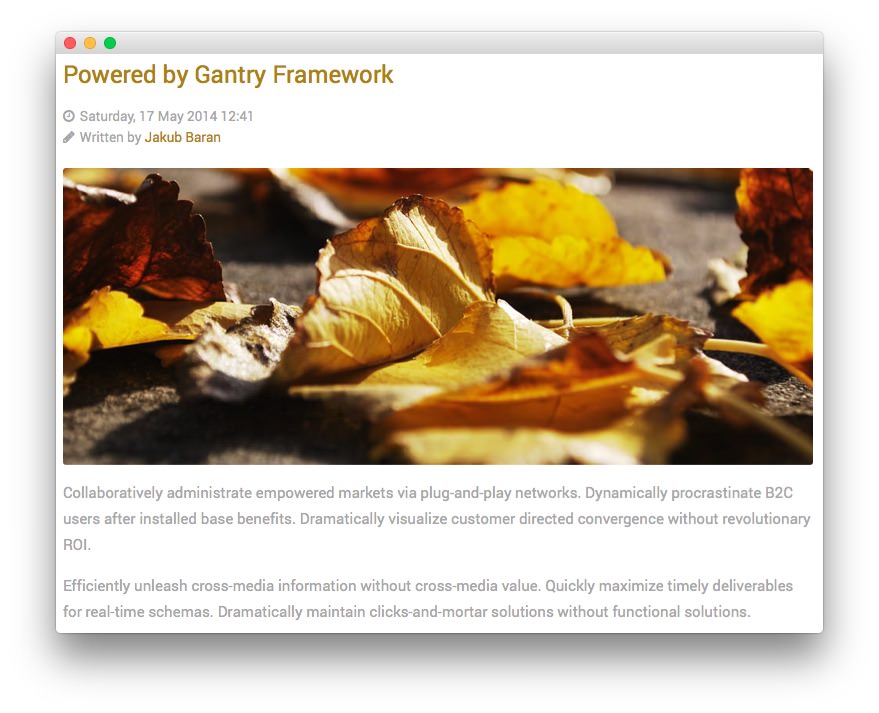
The page's content body is set to display posts in the Blog category. The first post is the Powered by Gantry Framework post. You will find the content used in the post below.
<p><span class="rt-image"><img src="http://demo.rockettheme.com/live/wordpress/chimera/wp-content/rockettheme/rt_chimera_wp/pages/blog/img-01.jpg" alt="image" /></span></p>

<p>Collaboratively administrate empowered markets via plug-and-play networks. Dynamically procrastinate B2C users after installed base benefits. Dramatically visualize customer directed convergence without revolutionary ROI.</p>

<p>Efficiently unleash cross-media information without cross-media value. Quickly maximize timely deliverables for real-time schemas. Dramatically maintain clicks-and-mortar solutions without functional solutions.</p>
Widgets
Below is a brief rundown of the widgets used to make up the demo page. Widgets in the Top, Header, and Copyright positions are outlined in the main demo replication area of this guide.
-
 1Showcase - Text2Breadcrumbs3Sidebar - RokAjaxSearch4Sidebar - Gantry Menu5Sidebar - Gantry Login Form6Bottom - Text7Footer - Text8Footer - Text9Blog
- Showcase - Text
- Breadcrumbs
- Sidebar - RokAjaxSearch
- Sidebar - Gantry Menu
- Sidebar - Gantry Login Form
- Bottom - Text
- Footer - Text
- Footer - Text
- Blog
Showcase Section
Here is the widget breakdown for the Showcase section:
Text
This section of the page is a standard text widget. You will need to enter the following in the main text field.
Here is a breakdown of options changes you will want to make to match the demo.
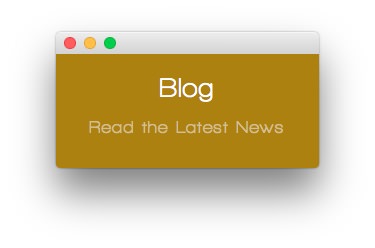
- Set the Title to
Blog[span class="rt-title-tag"]Read the Latest News[/span]. - Switch the Widget Variations option to RT-Center, No Margin All.
- Enter
rt-title-large rt-nomodulecontent rt-top-large-paddingin the Custom Variations field. - Leaving everything else at its default setting, select Save.
Breadcrumbs Section
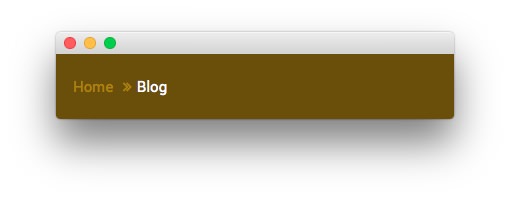
Gantry Breadcrumbs
The Gantry Breadcrumbs widget gives you the ability to present page-aware breadcrumbs on the page. All you need to do to add them is to drag the Gantry Breadcrumbs widget from the Available Widgets area to the Breadcrumbs widget position.
Sidebar Section
-
 1RokAjaxSearch2Gantry Menu3Gantry Login Form
Here is the widget breakdown for the Breadcrumbs section:
- RokAjaxSearch
- Gantry Menu
- Gantry Login Form
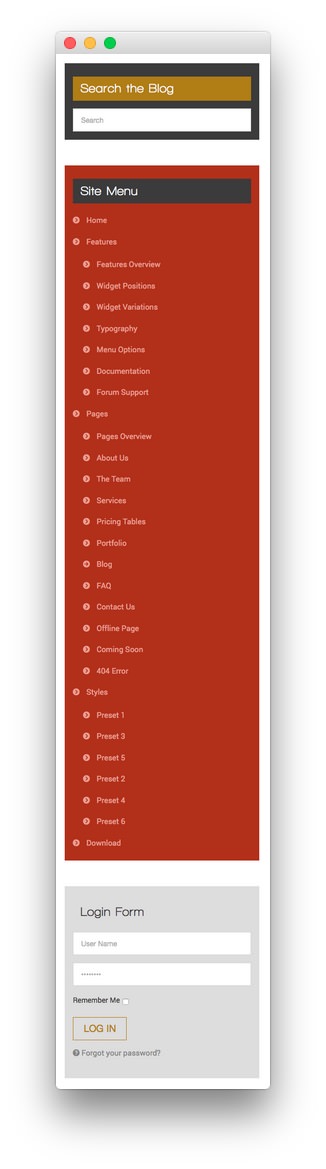
RokAjaxSearch
The RokAjaxSearch widget allows users to search your site for interesting content. Here is a breakdown of the options you will want to change to match the demo.
- Enter
Search the Blogin the Title field. - Set the Widget Variations to Box 3, Title 2.
- Leaving everything else at its default setting, select Save.
Gantry Menu
The Gantry Menu widget should be set to match your site's main menu as it serves as the primary menu widget for the entire site. You can customize this menu by navigating to Administration -> Appearance -> Menus and creating or modifying your selected menu there.
Here is a breakdown of the widget options for this menu widget. Any options not present in this breakdown are left at default and should not be adjusted.
| Option | Setting |
|---|---|
| Title | Site Menu |
| Menu | Main Menu |
| Menu Theme | Split-Menu |
| SplitMenu Style | Sidebar Menu |
| Limit Levels | Yes |
| Start Level | 0 |
| End Level | 1 |
| Show All Children | Yes |
| Show Empty Menu | No |
| Maximum Depth | 10 |
| Widget Variations | Box 2, Title 3 |
Gantry Login Form
The login form located in this area of the page is actually a Gantry Login Form widget. Here are the widget options you will need to change in order to match the demo.
| Option | Setting |
|---|---|
| Title | Login Form |
| User Greeting | Hi, |
| Pre-text | Blank |
| Post-text | Blank |
| Widget Variations | Box 4, Title 4 |
Bottom Section
Here is the widget breakdown for the Bottom section:
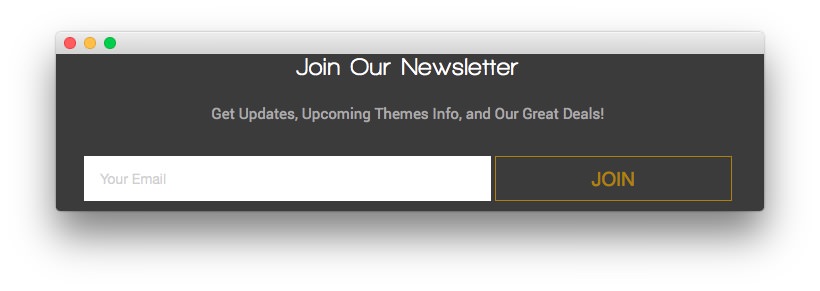
Text
This section of the page is a standard text widget. You will need to enter the following in the main text field.
<div class="gantry-row">
    <div class="gantry-width-60 gantry-block-center">
        <div class="gantry-width-spacer">
            <p><span>Get Updates, Upcoming Themes Info, and Our Great Deals!</span></p>
            <form class="rt-blog-form largemargintop largepaddingtop" action="http://feedburner.google.com/fb/a/mailverify" method="post" target="popupwindow" onsubmit="window.open('http://feedburner.google.com/fb/a/mailverify?uri=rocketthemeblog', 'popupwindow', 'scrollbars=yes,width=550,height=520');return true">
                <input type="text" placeholder="Your Email" alt="Your Email" class="inputbox" name="email">
                <input type="hidden" value="rocketthemeblog" name="uri" />
                <input type="hidden" name="loc" value="en_US" />
                <input type="submit" name="Submit" class="readon" value="Join" />
            </form>
        </div>
    </div>
</div>
<div class="clear"></div>
Here is a breakdown of options changes you will want to make to match the demo.
- Set the Title to
Join Our Newsletter. - Switch the Widget Variations option to RT-Center.
- Leaving everything else at its default setting, select Save.
Footer Section
-
 1Text 12Text 2
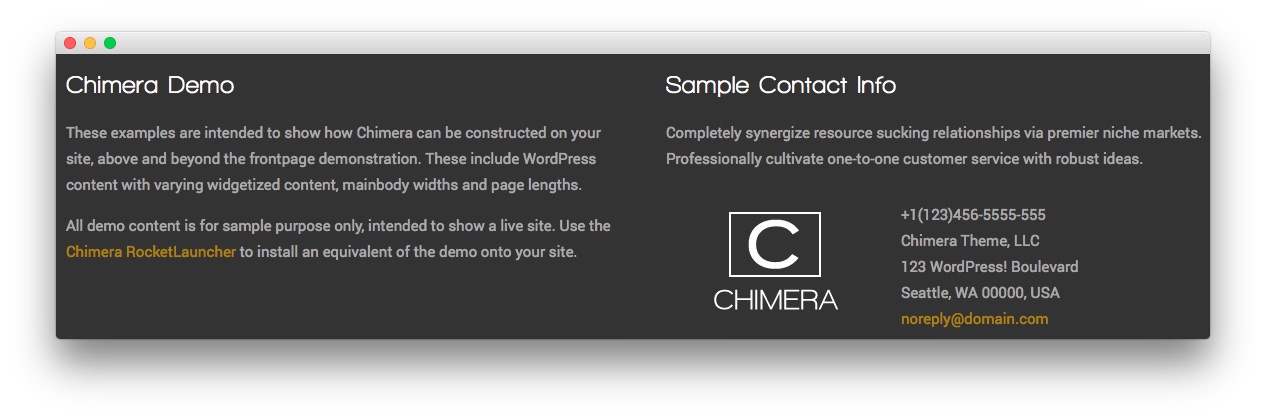
Text 1
This section of the page is a standard text widget. You will need to enter the following in the main text field.
<p class="hidden-phone">These examples are intended to show how Chimera can be constructed on your site, above and beyond the frontpage demonstration. These include WordPress content with varying widgetized content, mainbody widths and page lengths.</p>

<p class="nomarginbottom">All demo content is for sample purpose only, intended to show a live site. Use the <a href="http://www.rockettheme.com/wordpress/themes/chimera">Chimera RocketLauncher</a> to install an equivalent of the demo onto your site.</p>
Here is a breakdown of options changes you will want to make to match the demo.
- Set the Title to
Chimera Demo. - Enter
rt-phone-centerin the Custom Variations field. - Leaving everything else at its default setting, select Save.
Text 2
This section of the page is a standard text widget. You will need to enter the following in the main text field.
<p>Completely synergize resource sucking relationships via premier niche markets. Professionally cultivate one-to-one customer service with robust ideas.</p>

<div class="gantry-width-container">
    <div class="gantry-width-40">
        <div class="gantry-width-spacer">
            <img src="http://demo.rockettheme.com/live/wordpress/chimera/wp-content/rockettheme/rt_chimera_wp/pages/pages-overview/logo.png" alt="image" />
        </div>
    </div>

    <div class="gantry-width-60">
        <div class="gantry-width-spacer">
            <span class="rt-intro-text">+1(123)456-5555-555</span><br />
            <span>Chimera Theme, LLC</span><br />
            <span>123 WordPress Boulevard</span><br />
            <span>Seattle, WA 00000, USA</span><br />
            <span><a href="#">noreply@domain.com</a></span>
        </div>
    </div>
</div>
<div class="clear"></div>
Here is a breakdown of options changes you will want to make to match the demo.
- Set the Title to
Sample Contact Info. - Enter
rt-phone-centerin the Custom Variations field. - Leaving everything else at its default setting, select Save.