Metropolis: Recreating the Demo - Main Bottom
Your Guide to Recreating Elements of the Metropolis Theme for WordPress
Main Bottom Section
Here is the widget breakdown for the Main Bottom section:
- Text
- Gantry Divider
- Text
- Gantry Divider
- Text
- Gantry Divider
- Text
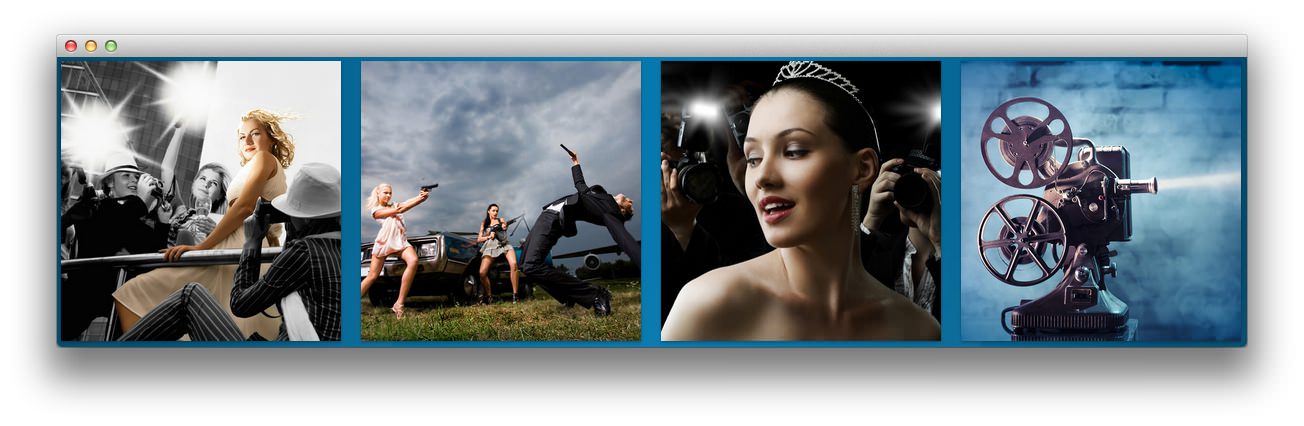
The Main Bottom Section contains four Text widgets separated by three Gantry Divider widgets. As you move your mouse over the widget, a title and "Read More" button appears. We will go over what you need to do to make this happen below.
Text
The first Text widget in the section is made a lot like the others in the section. You will need to enter the following in the main text field.
<div class="rt-image">
    <img alt="image" src="http://www.yoursite.com/wp-content/rockettheme/rt_metropolis_wp/frontpage/mainbottom/img1.jpg" />
    <div class="rt-image-description">
        <span class="icon-eye-open rt-big-icon"></span>
        <h4>Theme Configuration</h4>
        <p>Guides Available</p>
        <a href="http://www.yoursite.com/tutorials/" class="readon"><span>Read More</span></a>
    </div>
</div>
Here is a breakdown of options changes you will want to make to match the demo.
- Set the Corner Variation option to Basic.
- Enter
nopaddingleft nopaddingrightin the Custom Variations field. - Leaving everything else at its default setting, select Save.
Gantry Divider
This widget tells WordPress to start a new widget column beginning with the widget placed directly below the divider in the section.
Text
The second Text widget in the section is made a lot like the others in the section. You will need to enter the following in the main text field.
<div class="rt-image">
<img alt="image" src="http://www.yoursite.com/wp-content/rockettheme/rt_metropolis_wp/frontpage/mainbottom/img2.jpg" />
<div class="rt-image-description">
<span class="icon-eye-open rt-big-icon"></span>
<h4>Adobe® Fireworks PNG</h4>
<p>Layered Sources</p>
<a href="http://www.yoursite.com/logo-editing/" class="readon"><span>Read More</span></a>
</div>
</div>
Here is a breakdown of options changes you will want to make to match the demo.
- Set the Corner Variation option to Basic.
- Enter
nopaddingleft nopaddingright hidden-phonein the Custom Variations field. - Leaving everything else at its default setting, select Save.
Text
The third Text widget in the section is made a lot like the others in the section. You will need to enter the following in the main text field.
<div class="rt-image">
    <img alt="image" src="http://www.yoursite.com/wp-content/rockettheme/rt_metropolis_wp/frontpage/mainbottom/img3.jpg" />
    <div class="rt-image-description">
        <span class="icon-eye-open rt-big-icon"></span>
        <h4>Demo Replication</h4>
        <p>RocketLauncher</p>
        <a href="http://www.yoursite.com/installation/" class="readon"><span>Read More</span></a>
    </div>
</div>
Here is a breakdown of options changes you will want to make to match the demo.
- Set the Corner Variation option to Basic.
- Enter
nopaddingleft nopaddingright hidden-phonein the Custom Variations field. - Leaving everything else at its default setting, select Save.
Text
The fourth Text widget in the section is made a lot like the others in the section. You will need to enter the following in the main text field.
<div class="rt-image">
    <img alt="image" src="http://www.yoursite.com/wp-content/rockettheme/rt_metropolis_wp/frontpage/mainbottom/img4.jpg" />
    <div class="rt-image-description">
        <span class="icon-eye-open rt-big-icon"></span>
        <h4>Versatile RokSprocket</h4>
        <p>Integrated Styling</p>
        <a href="http://www.yoursite.com/plugins/" class="readon"><span>Read More</span></a>
    </div>
</div>
Here is a breakdown of options changes you will want to make to match the demo.
- Set the Corner Variation option to Basic.
- Enter
nopaddingleft nopaddingright hidden-phonein the Custom Variations field. - Leaving everything else at its default setting, select Save.