- Docs
- Joomla
- Templates
- Interstellar
Interstellar: Recreating the Demo - Footer Section
Your Guide to Recreating Elements of the Interstellar Demo for Joomla
- Interstellar
- Introduction
- Key Features
- Requirements
- How to Install
-
Recreate the Demo
- Extensions
- Style Settings
- Module and Particle Settings
- Template Atoms
- Front Page Layout
- Sample Pages
- FAQ
- Template Tutorials
- Overriding Particle Settings
- Adding a Custom Style Sheet
- Adding a Custom Font
- Customizing the Error Page
- Using the Font Picker
- Using the Color Picker
- Using the Icon Picker
- Creating a New Particle
- Particle YAML Field Types
- Customizing Theme Files
- Creating Layout Presets
- Creating Custom File Overrides
- Template Font Index
Introduction
-
 1Custom HTML (Particle)2Newsletter (Particle)
The Footer section includes two particles: Custom HTML and a Newsletter particle assigned to the footer-a and footer-b module positions.

Here is a breakdown of the module(s) and particle(s) that appear in this section:
Section Settings
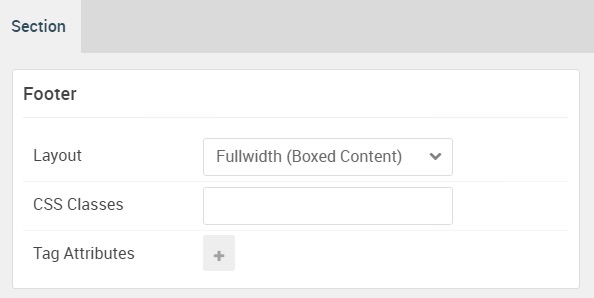
| Option | Setting |
|---|---|
| Layout | Fullwidth (Boxed Content) |
| CSS Classes | Blank |
| Tag Attributes | Blank |
Custom HTML (Particle)
The Simple Content particle is a Gantry 5 Particle module placed within the footer-a module position. You can create a module position by dragging and dropping a Module Position particle into the desired location within the Layout Manager. The module position's settings are as follows.
Module Position Particle Settings
Particle Settings
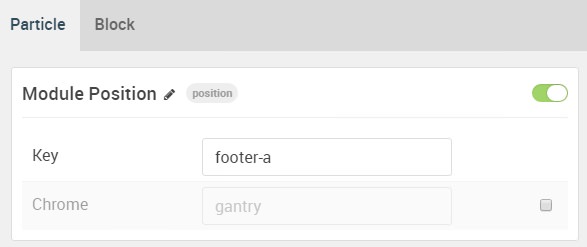
| Option | Setting |
|---|---|
| Particle Name | FP Extension A |
| Key | footer-a |
| Chrome | gantry |
Block Settings
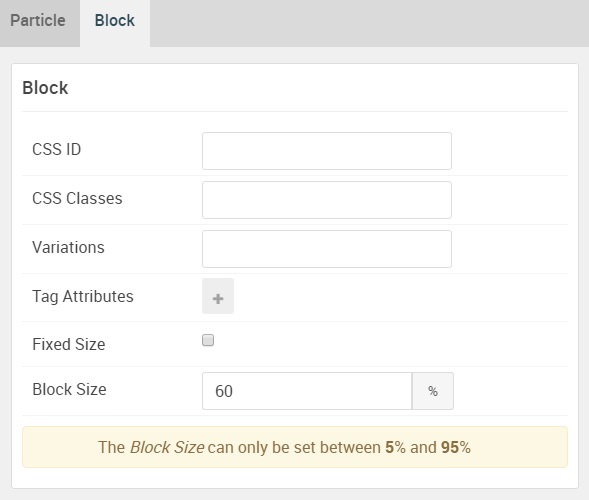
| Option | Setting |
|---|---|
| CSS ID | Blank |
| CSS Classes | Blank |
| Variations | Blank |
| Tag Attributes | Blank |
| Fixed Size | Unchecked |
| Block Size | 60% |
Custom HTML Particle Settings
The next step involves assigning the particle to the module position. Adding a particle to a module position can be done by creating a Gantry 5 Particle module by navigating to Admin > Extensions > Modules and clicking the green New button. Select the Gantry 5 Particle module type and create the particle using the settings found in the section below, and assigning it to the position.
Particle Settings
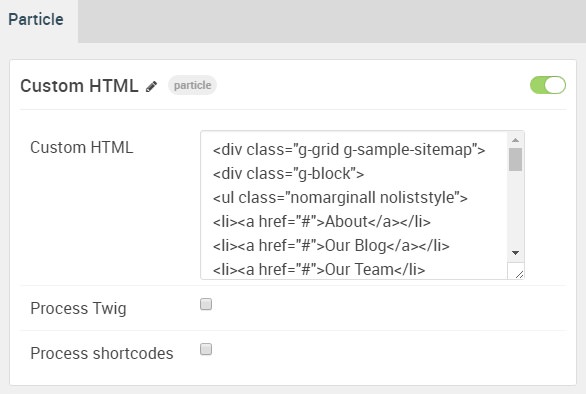
| Option | Setting |
|---|---|
| Particle Name | Custom HTML |
| Process Twig | Unchecked |
| Process Shortcodes | Unchecked |
Custom HTML
<div class="g-grid g-sample-sitemap">
<div class="g-block">
<ul class="nomarginall noliststyle">
<li><a href="#">About</a></li>
<li><a href="#">Our Blog</a></li>
<li><a href="#">Our Team</li>
<li><a href="#">We're hiring!</a></li>
</ul>
</div>
<div class="g-block">
<ul class="nomarginall noliststyle">
<li><a href="#">FAQ</a></li>
<li><a href="#">Support</a></li>
<li><a href="#">Showcase</li>
<li><a href="#">Contact Us</a></li>
</ul>
</div>
<div class="g-block">
<ul class="nomarginall noliststyle">
<li><a href="#">Tumblr</a></li>
<li><a href="#">Facebook</a></li>
<li><a href="#">Twitter</li>
<li><a href="#">Pinterest</a></li>
</ul>
</div>
</div>
Newsletter (Particle)
The Newsletter particle is a Gantry 5 Particle module placed within the footer-a module position. You can create a module position by dragging and dropping a Module Position particle into the desired location within the Layout Manager. The module position's settings are as follows.
Module Position Particle Settings
Particle Settings
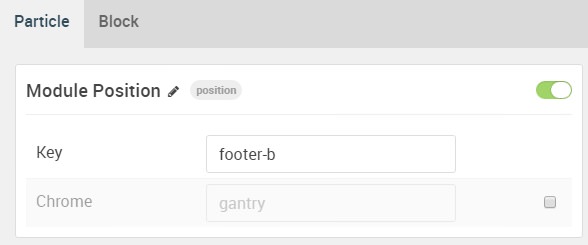
| Option | Setting |
|---|---|
| Particle Name | FP Extension A |
| Key | footer-a |
| Chrome | gantry |
Block Settings
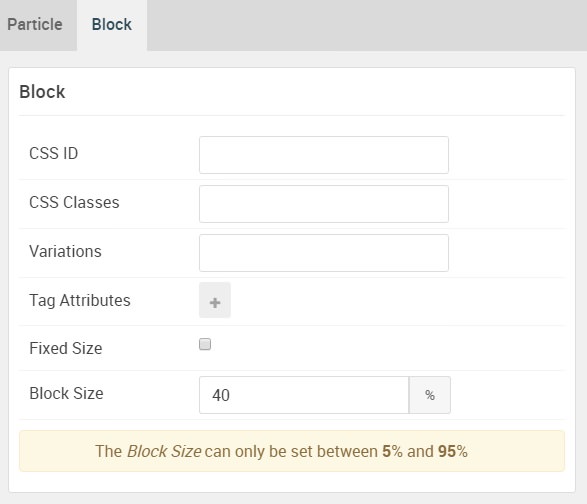
| Option | Setting |
|---|---|
| CSS ID | Blank |
| CSS Classes | Blank |
| Variations | Blank |
| Tag Attributes | Blank |
| Fixed Size | Unchecked |
| Block Size | 40% |
Newsletter Particle Settings
The next step involves assigning the particle to the module position. Adding a particle to a module position can be done by creating a Gantry 5 Particle module by navigating to Admin > Extensions > Modules and clicking the green New button. Select the Gantry 5 Particle module type and create the particle using the settings found in the section below, and assigning it to the position.
Particle Settings
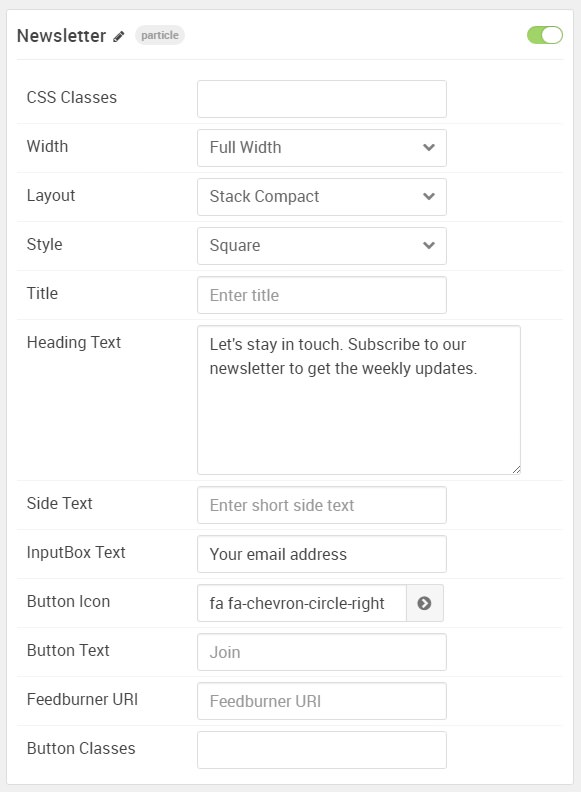
| Option | Setting |
|---|---|
| Particle Name | Newsletter |
| CSS Classes | Blank |
| Width | Full Width |
| Layout | Stack Compact |
| Style | Square |
| Title | Blank |
| Heading Text | Let's stay in touch. Subscribe to our newsletter to get the weekly updates. |
| Side Text | Blank |
| InputBox Text | Your email address |
| Button Icon | fa fa-chevron-circle-right |
| Button Text | Blank |
| Feedburner URI | Blank |
| Button Classes | Blank |