RocketTheme Purchasing Guide
This is your guide to purchasing memberships and individual products from RocketTheme.
Introduction
The newly-designed RocketTheme site has a new cart system that simplifies the process for new subscriptions and individual template purchases.
In this documentation, we will go over a step-by-step guide to using our cart on RocketTheme.com.
Step 1: Add Items to Your Cart
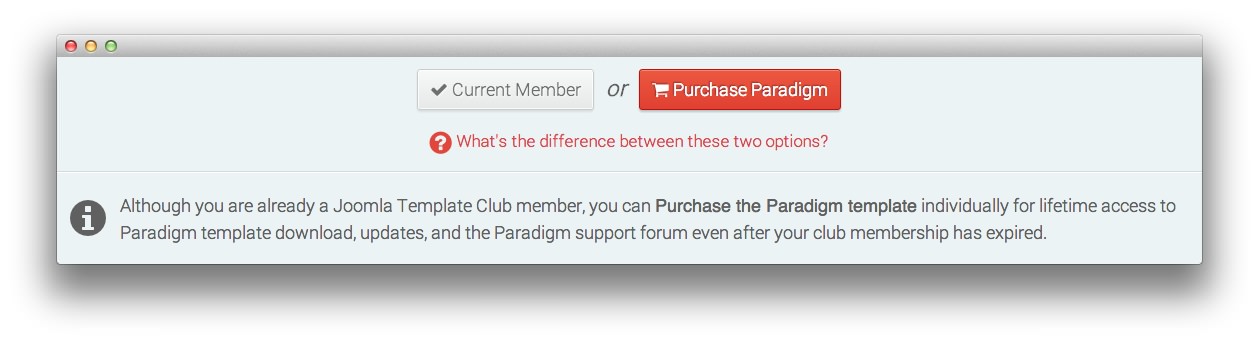
Whether you are purchasing a Club membership, or a single template, the process for adding products to your cart remains pretty much the same. You can find out more about the differences between a Club membership and a single template purchase by visiting our detailed documentation.
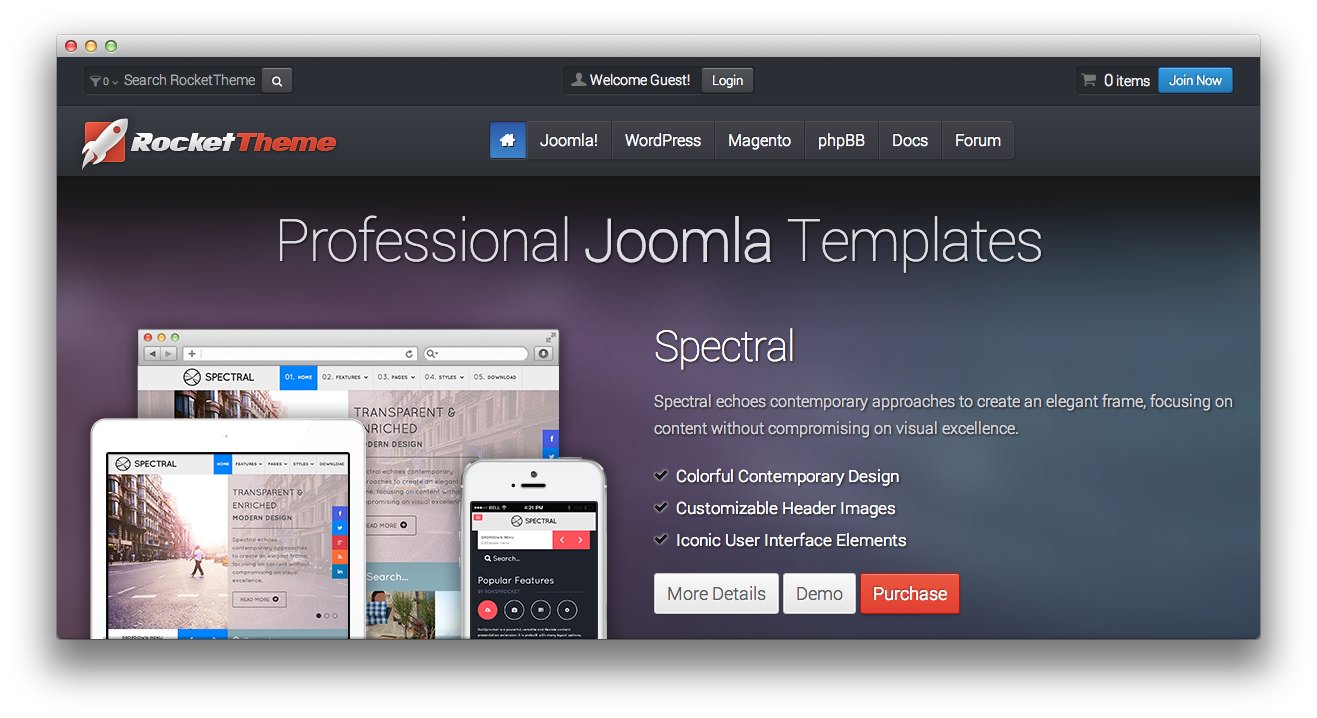
You can join a RocketTheme Club by clicking Join Now in the upper-right area of the page, if no other items currently exist in your cart. You can also locate the purchase option for each Club by visiting the main page for that club, or the details page for any products that would be made available to you by joining the club.
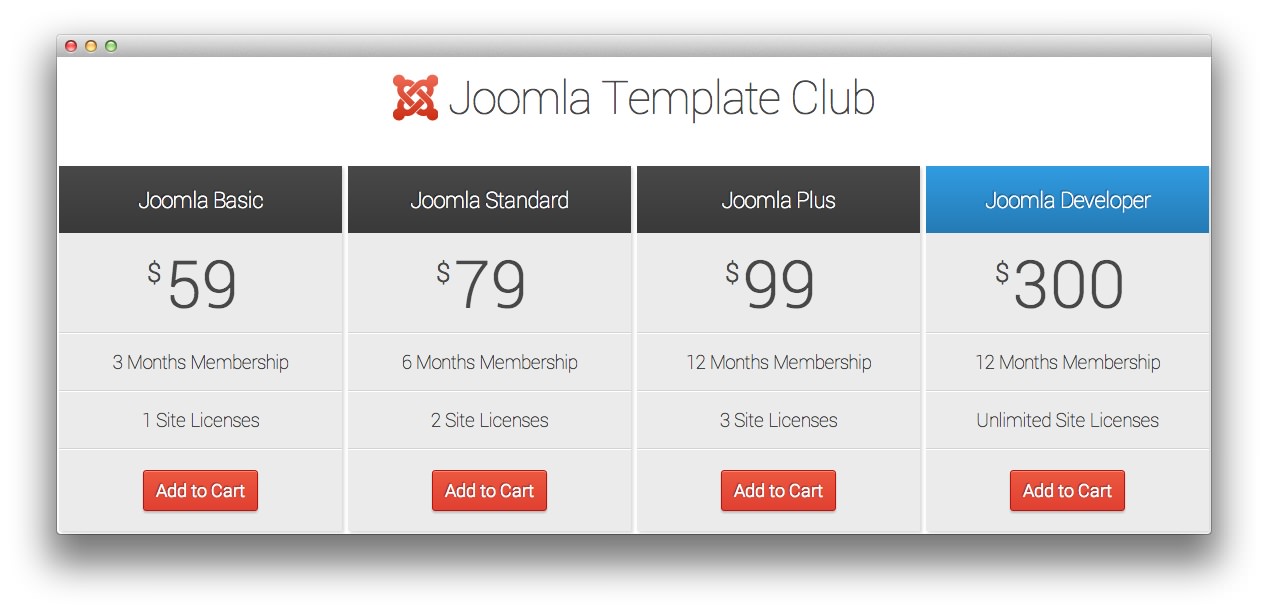
In the Club's details page, you will see a list of membership options. Choose the one that best fits your needs by selecting Add to Cart.
If you just want to buy a single template, you can find the Purchase button on the Details page of each individual product we offer. Selecting this button will add it to your cart.
Once you have added the product(s) you wish to purchase, you can check out by clicking the blue Checkout button that appears on the upper-right corner of each page, next to the item count.
Step 2: Details
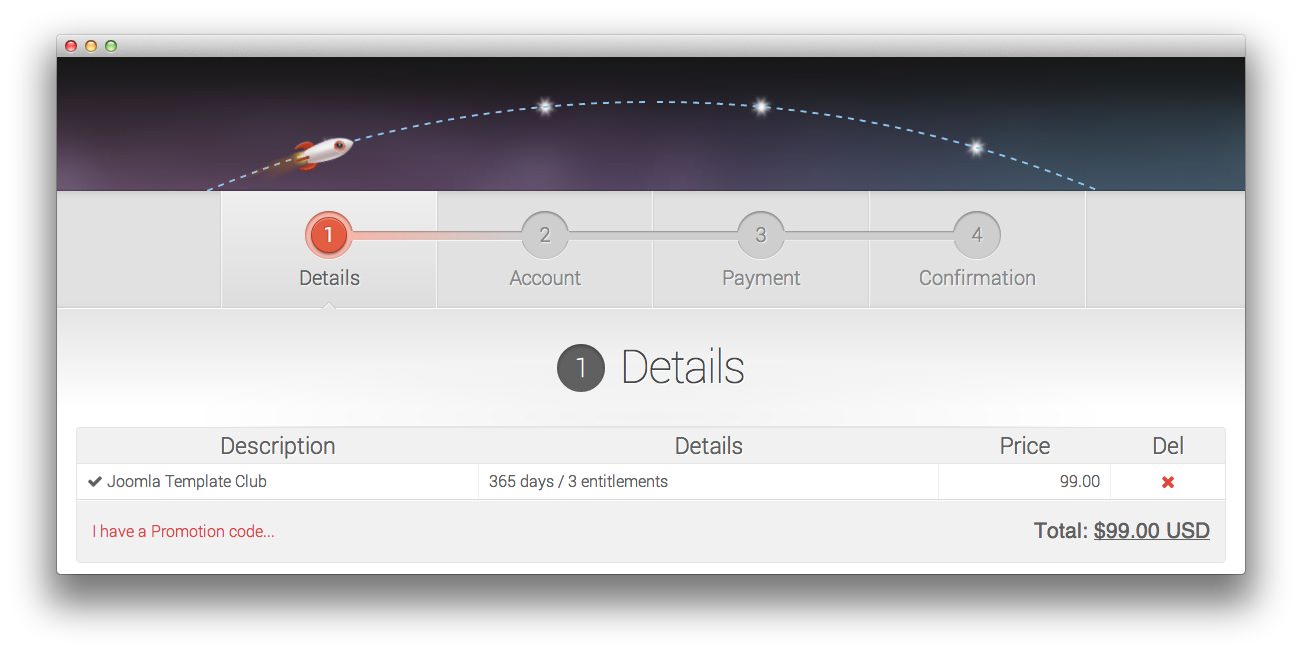
The Details area of the Checkout page is where you can double-check to make sure you have added the right items to your cart. You can remove individual items by selecting the red X in the Del column.
If you have a promotion code, you can enter it by selecting the I have a Promotion code... link just under the items list.
You will also need to read and verify that you accept the Terms and Conditions of purchase. We highly recommend reading these terms in full, as it will help you to understand exactly how you can use the products without violating the terms of service.
Step 3: Account Information
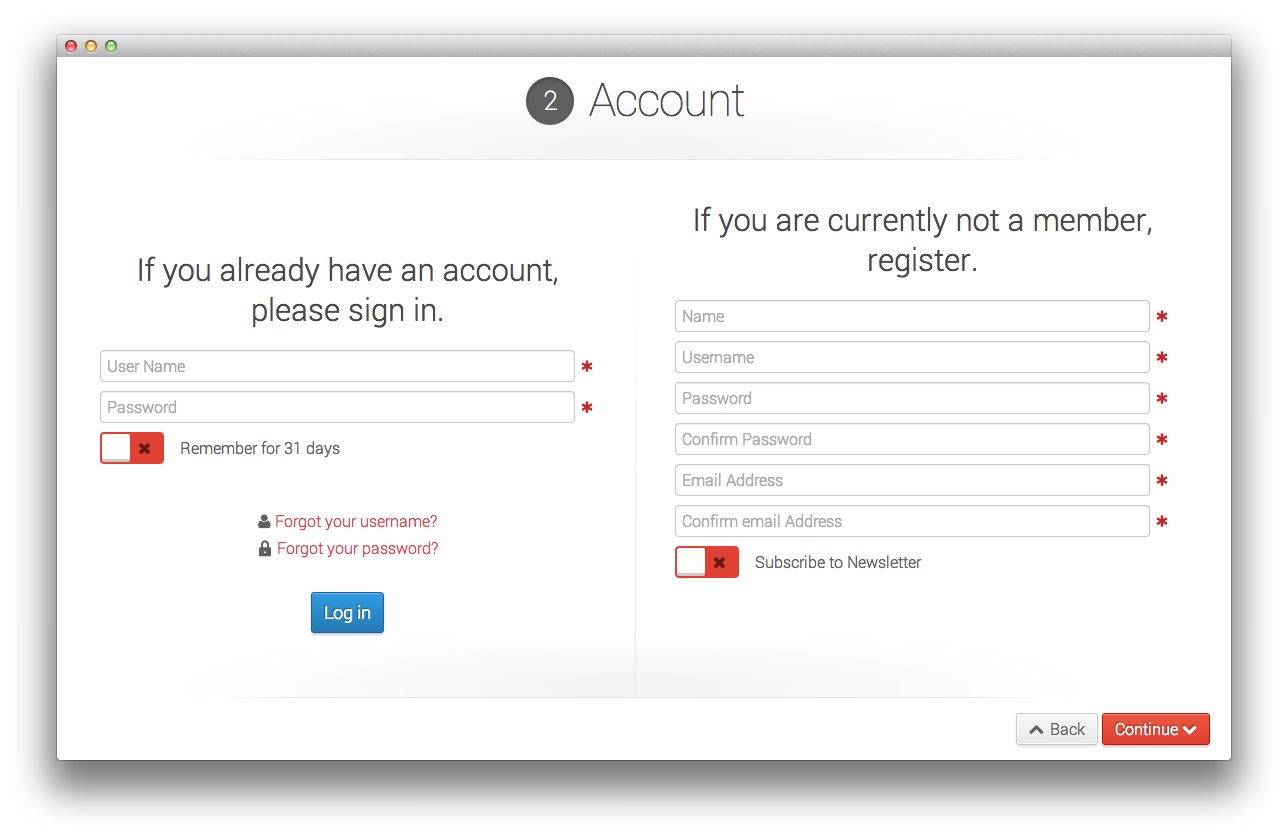
If you are already signed in, you will just need to confirm that the currently active account is the one you wish to have the purchase linked to. If you were not logged in already when you initialized the checkout process, you will be given the opportunity to either log in, or register a new account with RocketTheme.
The left side of this area is a simple Login form. Here, you will just need to enter your username and password, as well as indicate if you wish to have the site remember your login for 31 days (to save you from having to log in each time you access the site).
If you are registering a new account, the fields on the right will need to be filled out. You will want to use your real name under the Name field, but you can choose anything you would like to be your Username.
For the Password, we recommend choosing one with at least the following:
- 6+ Characters
- 1+ Digits
- 1+ Special Characters (!@#$%^&*)
- 1+ Upper-case Letters
- 1+ Lower-case Letters
You will also want to enter an email address you can check quickly in order to verify the account. This email address will be used to reset passwords, and receive important information about your account and/or purchases.
Step 4: Payment

We are now accepting payments through either PayPal, or one of six major credit cards. Here is a list of supported payment card types:
- Visa
- MasterCard
- American Express
- Discover
- Diners Club
- JCB
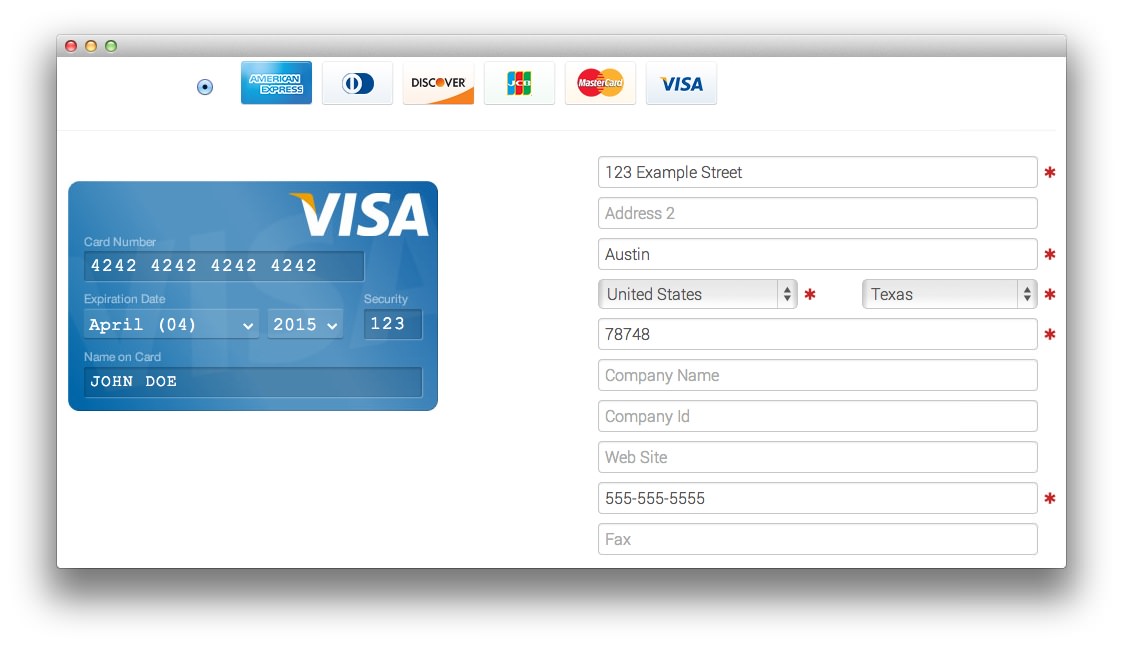
If you select the Credit option, you will see a card and a series of fields you can enter your billing information into in order to set up payment. The fields on the card itself allow you to enter the Card Number, Expiration Date, Security Code, and your name as it appears on the card.
To the right of the card are the billing information fields. These fields allow us to verify the card with the bank, and set up your receipt at the end of the process. Required fields have a red asterisk to the right.
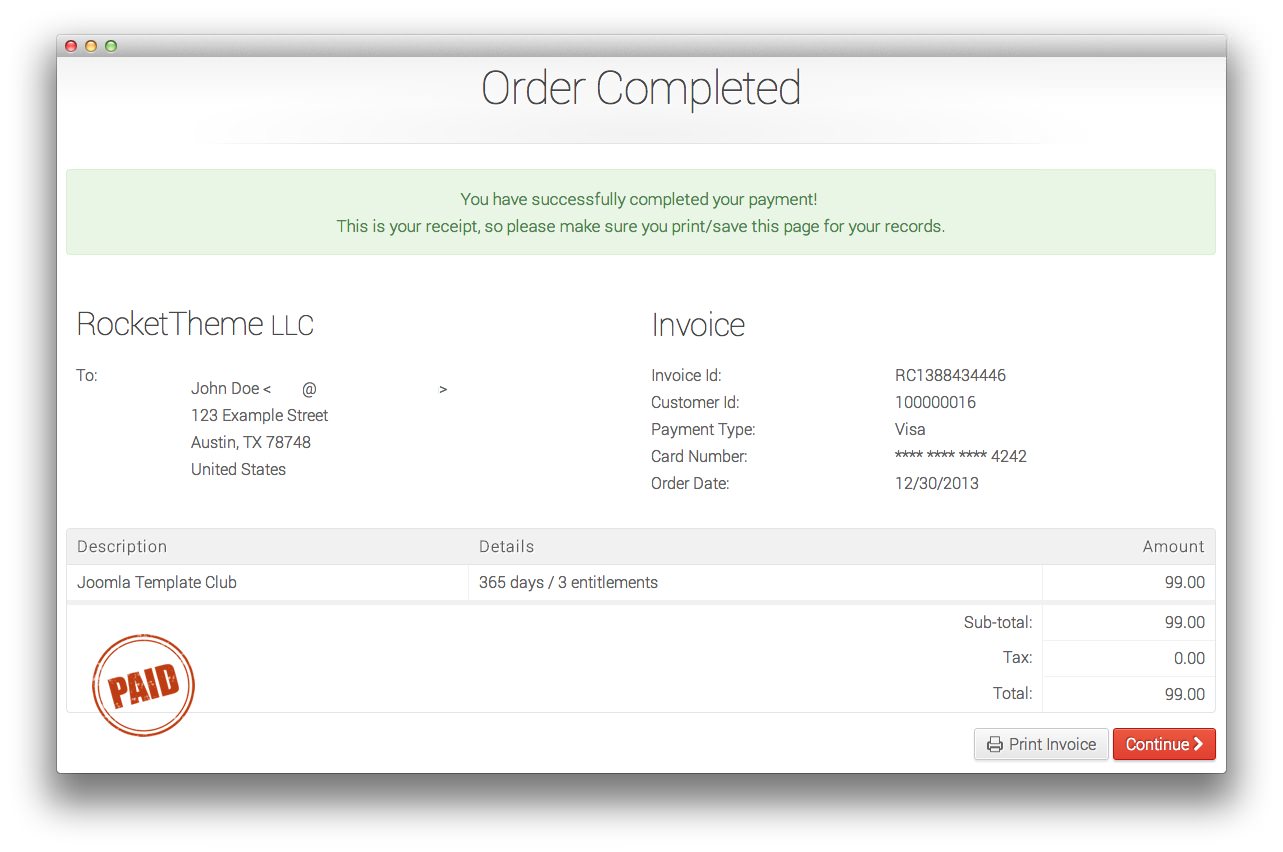
Step 5: Confirmation
The Confirmation stage of checkout is the final step before you place the order. This is where you can verify all of the information previously entered, and Confirm the order.
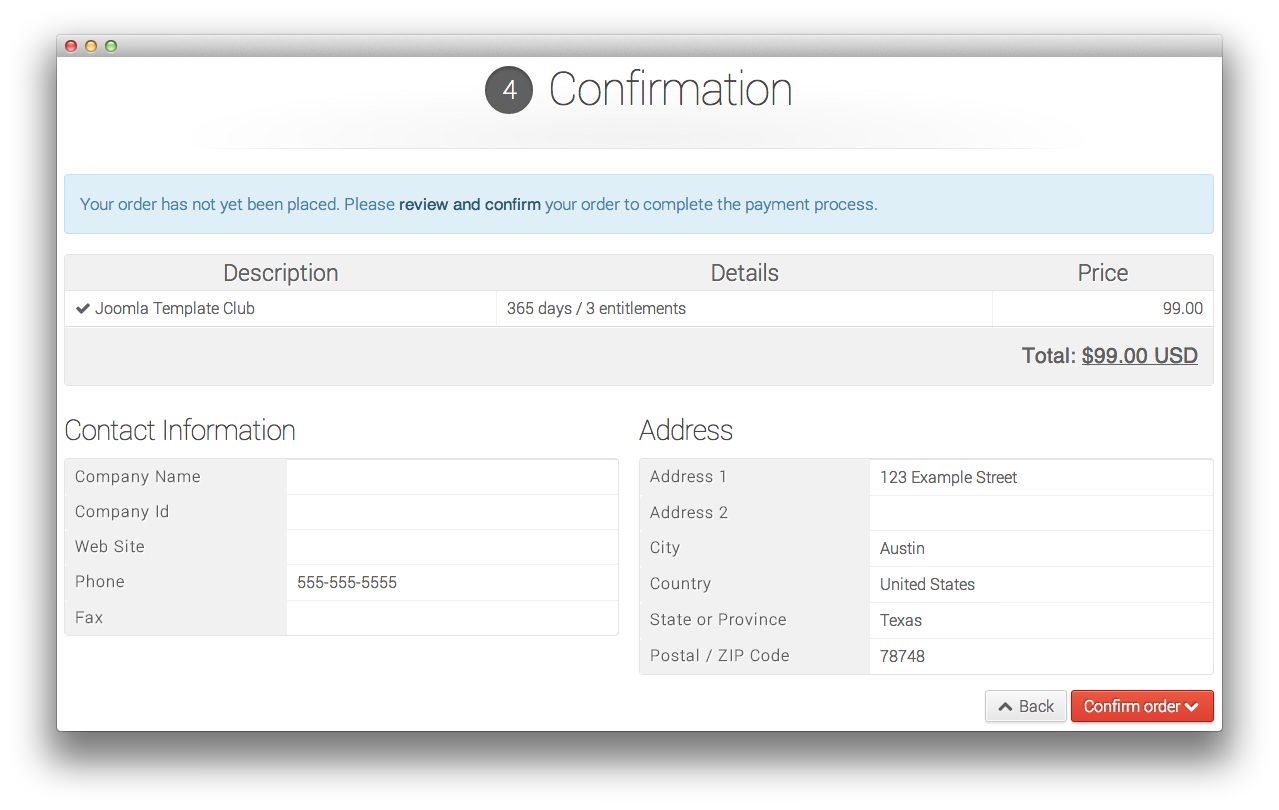
Once you have confirmed the order, you will see your final confirmation, as well as a button that takes you to a printer-safe version of your receipt. You should now have access to your purchase(s). Congratulations!