Requiem: Promo Content Particle
Your Guide to Recreating Elements of the Requiem Demo for WordPress
Introduction

The Promo Content particle is a great way
Here are the topics covered in this guide:
Configuration
Main Options
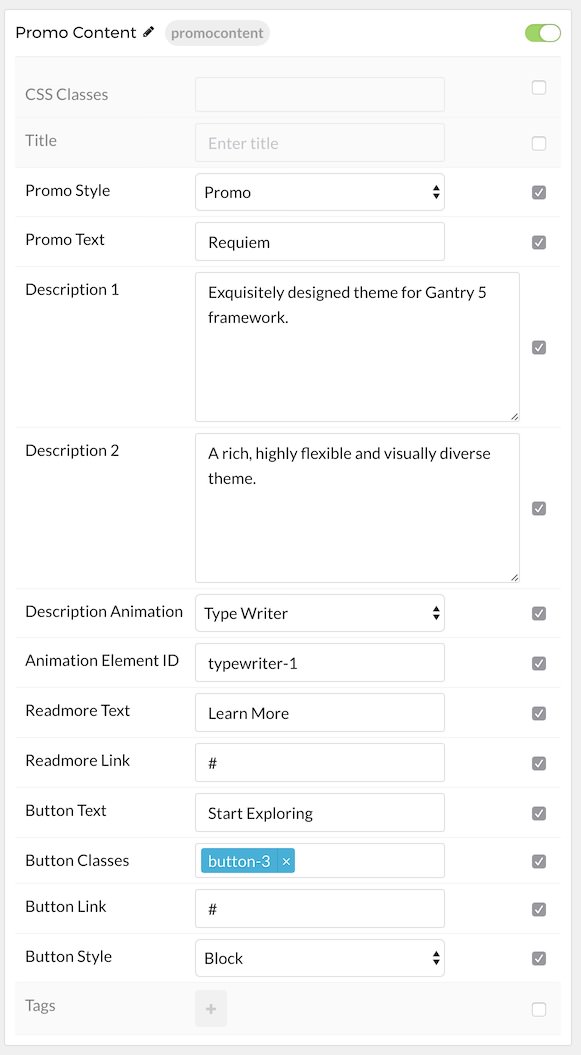
These options affect the main area of the particle, and not the individual items within. For example, if you want to display content that includes a title, headline, image, and link you can do so here, but if you want to display numerous individual items, each with their own text, images, and/or links, you can do so using the Promo Items collection feature.

| Option | Description |
|---|---|
| CSS Classes | Enter the CSS class(es) you want to use in the content of the particle. |
| Title | Enter the title of the particle, as it will appear on the front end. |
| Icon | Set the icon that appears next to the title. |
| Promo Style | Select a promo style between: Standard, Promo, Super Promo, and SubPromo. |
| Promo Text | Enter text to appear. |
| Description 1 | Enter a description. |
| Description 2 | Enter a secondary description. |
| Description Animation | Select an animation setting. Choose between: Type Writer and No Animation |
| Animation Element ID | If you choose Type Writer animation, please put unique Element ID to differ it with another same particle. For example: typewriter-1, typewriter-2, etc. |
| Readmore Text | Enter the text you wish to have appear as the description for the particle. This text appears below the title and headline. |
| Readmore Link | Customize the link you want the link readmore to go to. |
| Button Text | Enter a text label for the alt button. |
| Button Classes | Enter any class(es) you want to have apply to the button. |
| Button Link | Enter a link the alt button will go to. |
| Button Style | Choose between Block, Inline, and Aside as a button style. |
Tag Options
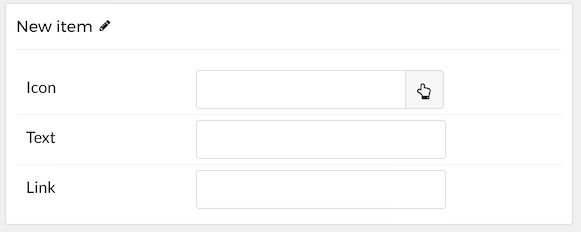
These items make up the individual tags applied to the particle.

| Option | Description |
|---|---|
| Icon | Select the icon you would like to have appear with the title area in the promo item. |
| Text | Enter the text for the promo item. |
| Link | Enter the url you want that link to go to. |
Found errors? Think you can improve this documentation? Please edit this page. You can also view the history of this page.